Overview
ADR and Foley stage operations involve the procedures, scheduling practices, technical workflows, and studio protocols associated with recording replacement dialogue, Foley performance, and other synchronized sound elements during post-production.
These workflows are important because ADR and Foley recording require careful coordination between performers, editors, mixers, and playback systems. Learning proper stage operations helps students develop professional studio etiquette, technical recording practices, and collaborative communication skills within controlled post-production sound environments.
Scheduling Sessions
This suite is a shared space for all students in the program. It is therefore very important to be considerate of others. Please only book the space for the amount of time you’ll need it, and please be willing to negotiate booking times with other students if the suite is in high demand. Please also leave the suite in the same or better condition as you found it. Any students who leave the suite in a disheveled state may be subject to professionalism probation.
To book time in either the ADR booth or Foley stage, click this link: ADR/Foley Pit Signup Schedule. This will take you to a Teamup calendar:
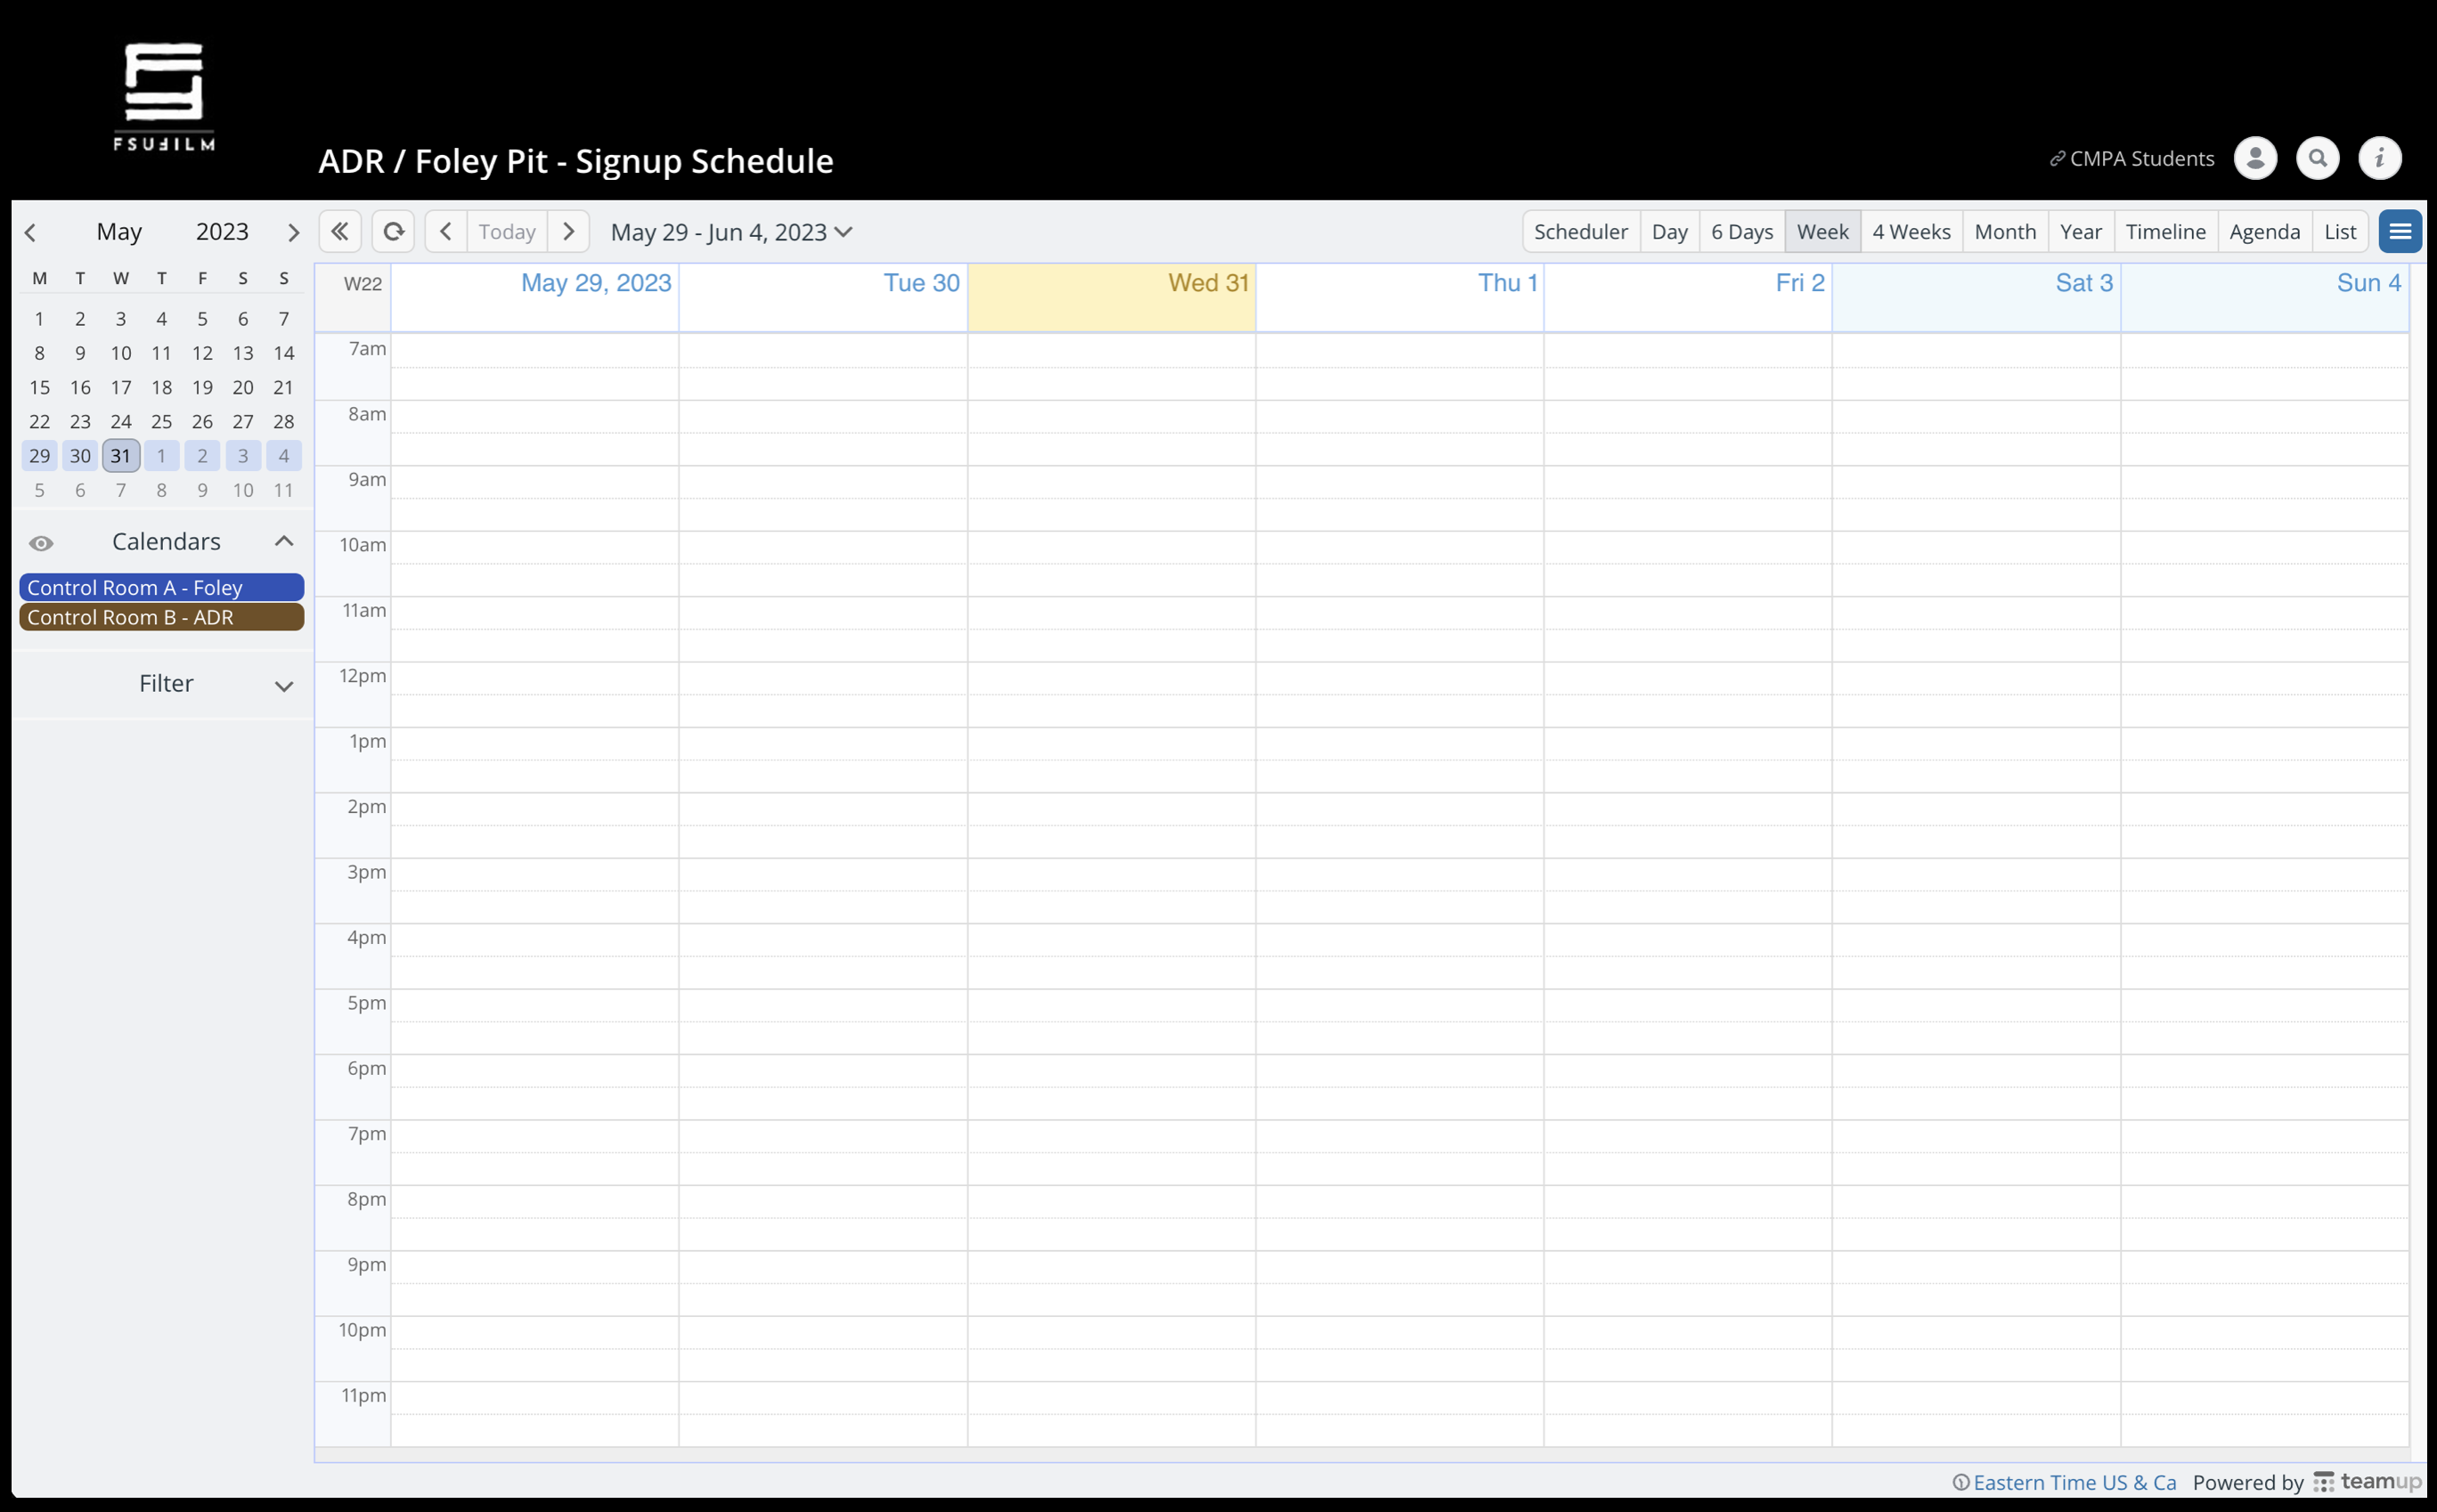
When the Teamup calendar opens, you will be able to see who else has booked the time in either the ADR booth or Foley stage. Select the date and time you would like to reserve by clicking in the calendar. When you do, a pop up will appear asking for you to enter more information about your reservation:
- Enter your show number in the event title
- Refine the start and end times
- Select either “Control Room A – Foley” or “Control Room B – ADR”
- List the names of who will be in the space
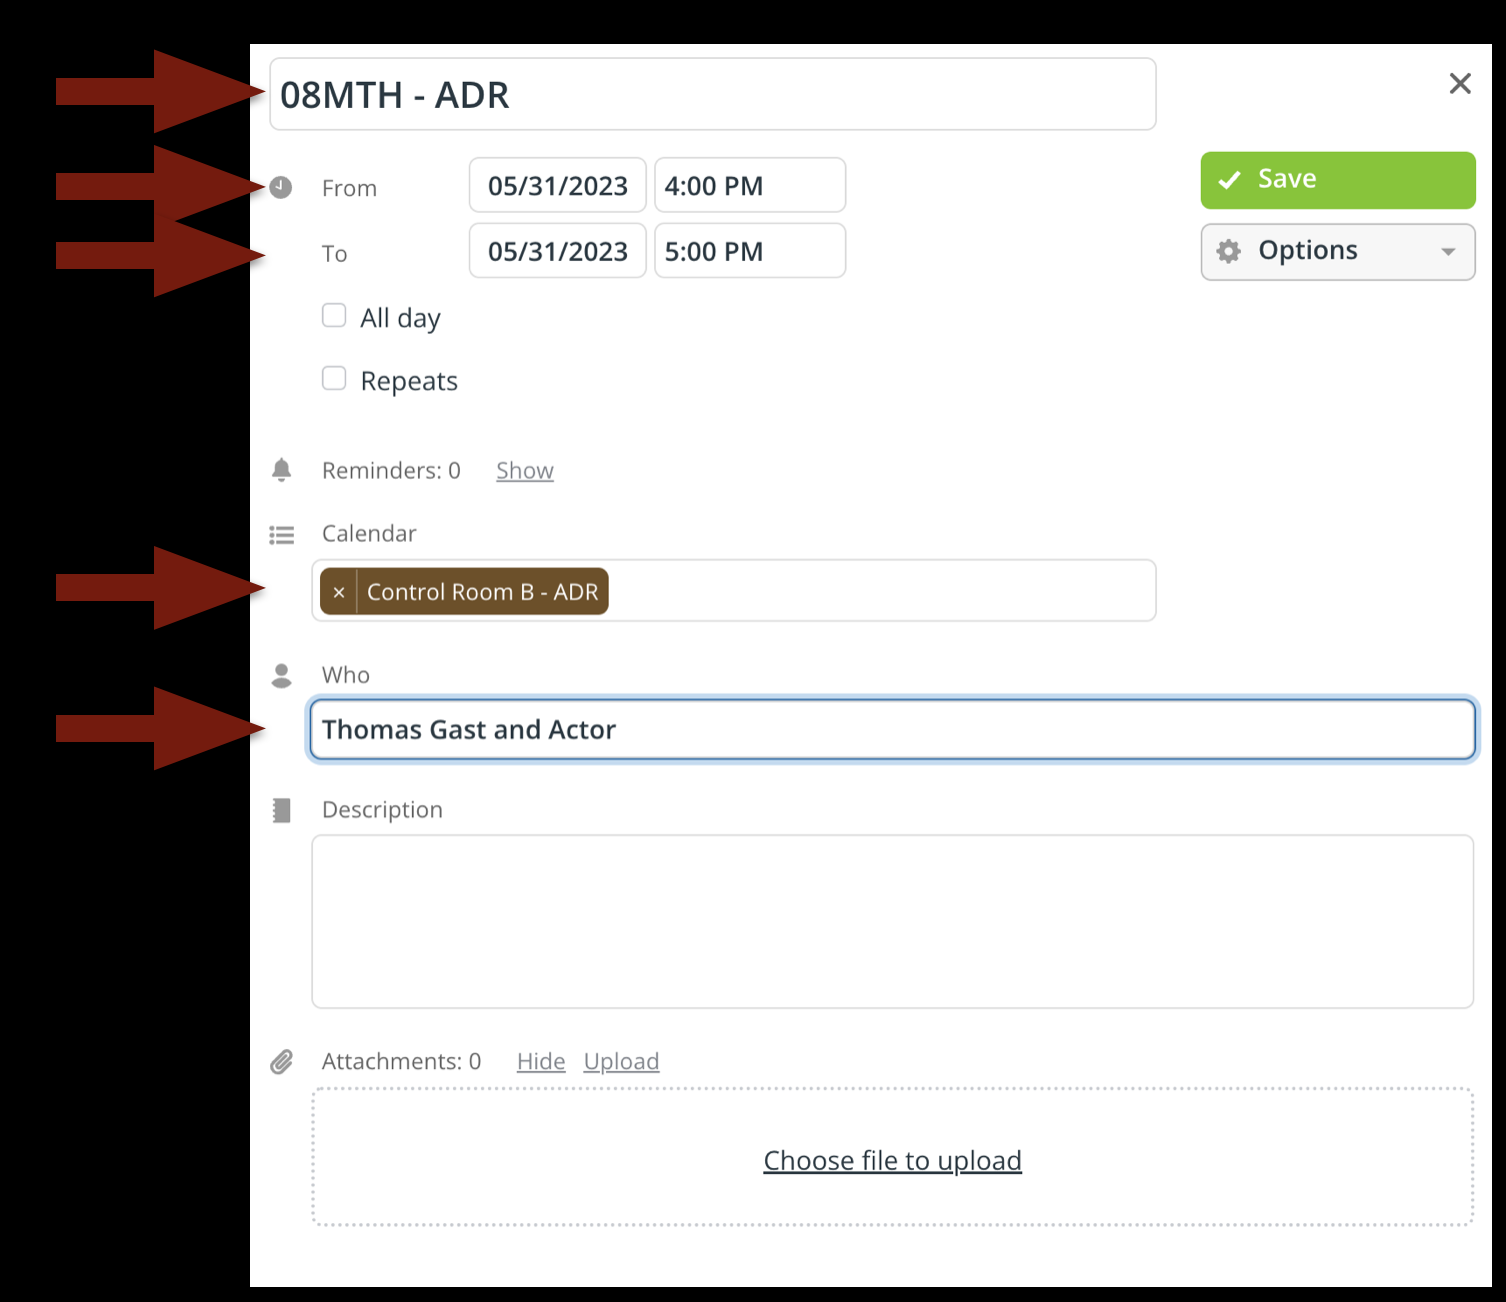
When you are done, it will look like the example below:
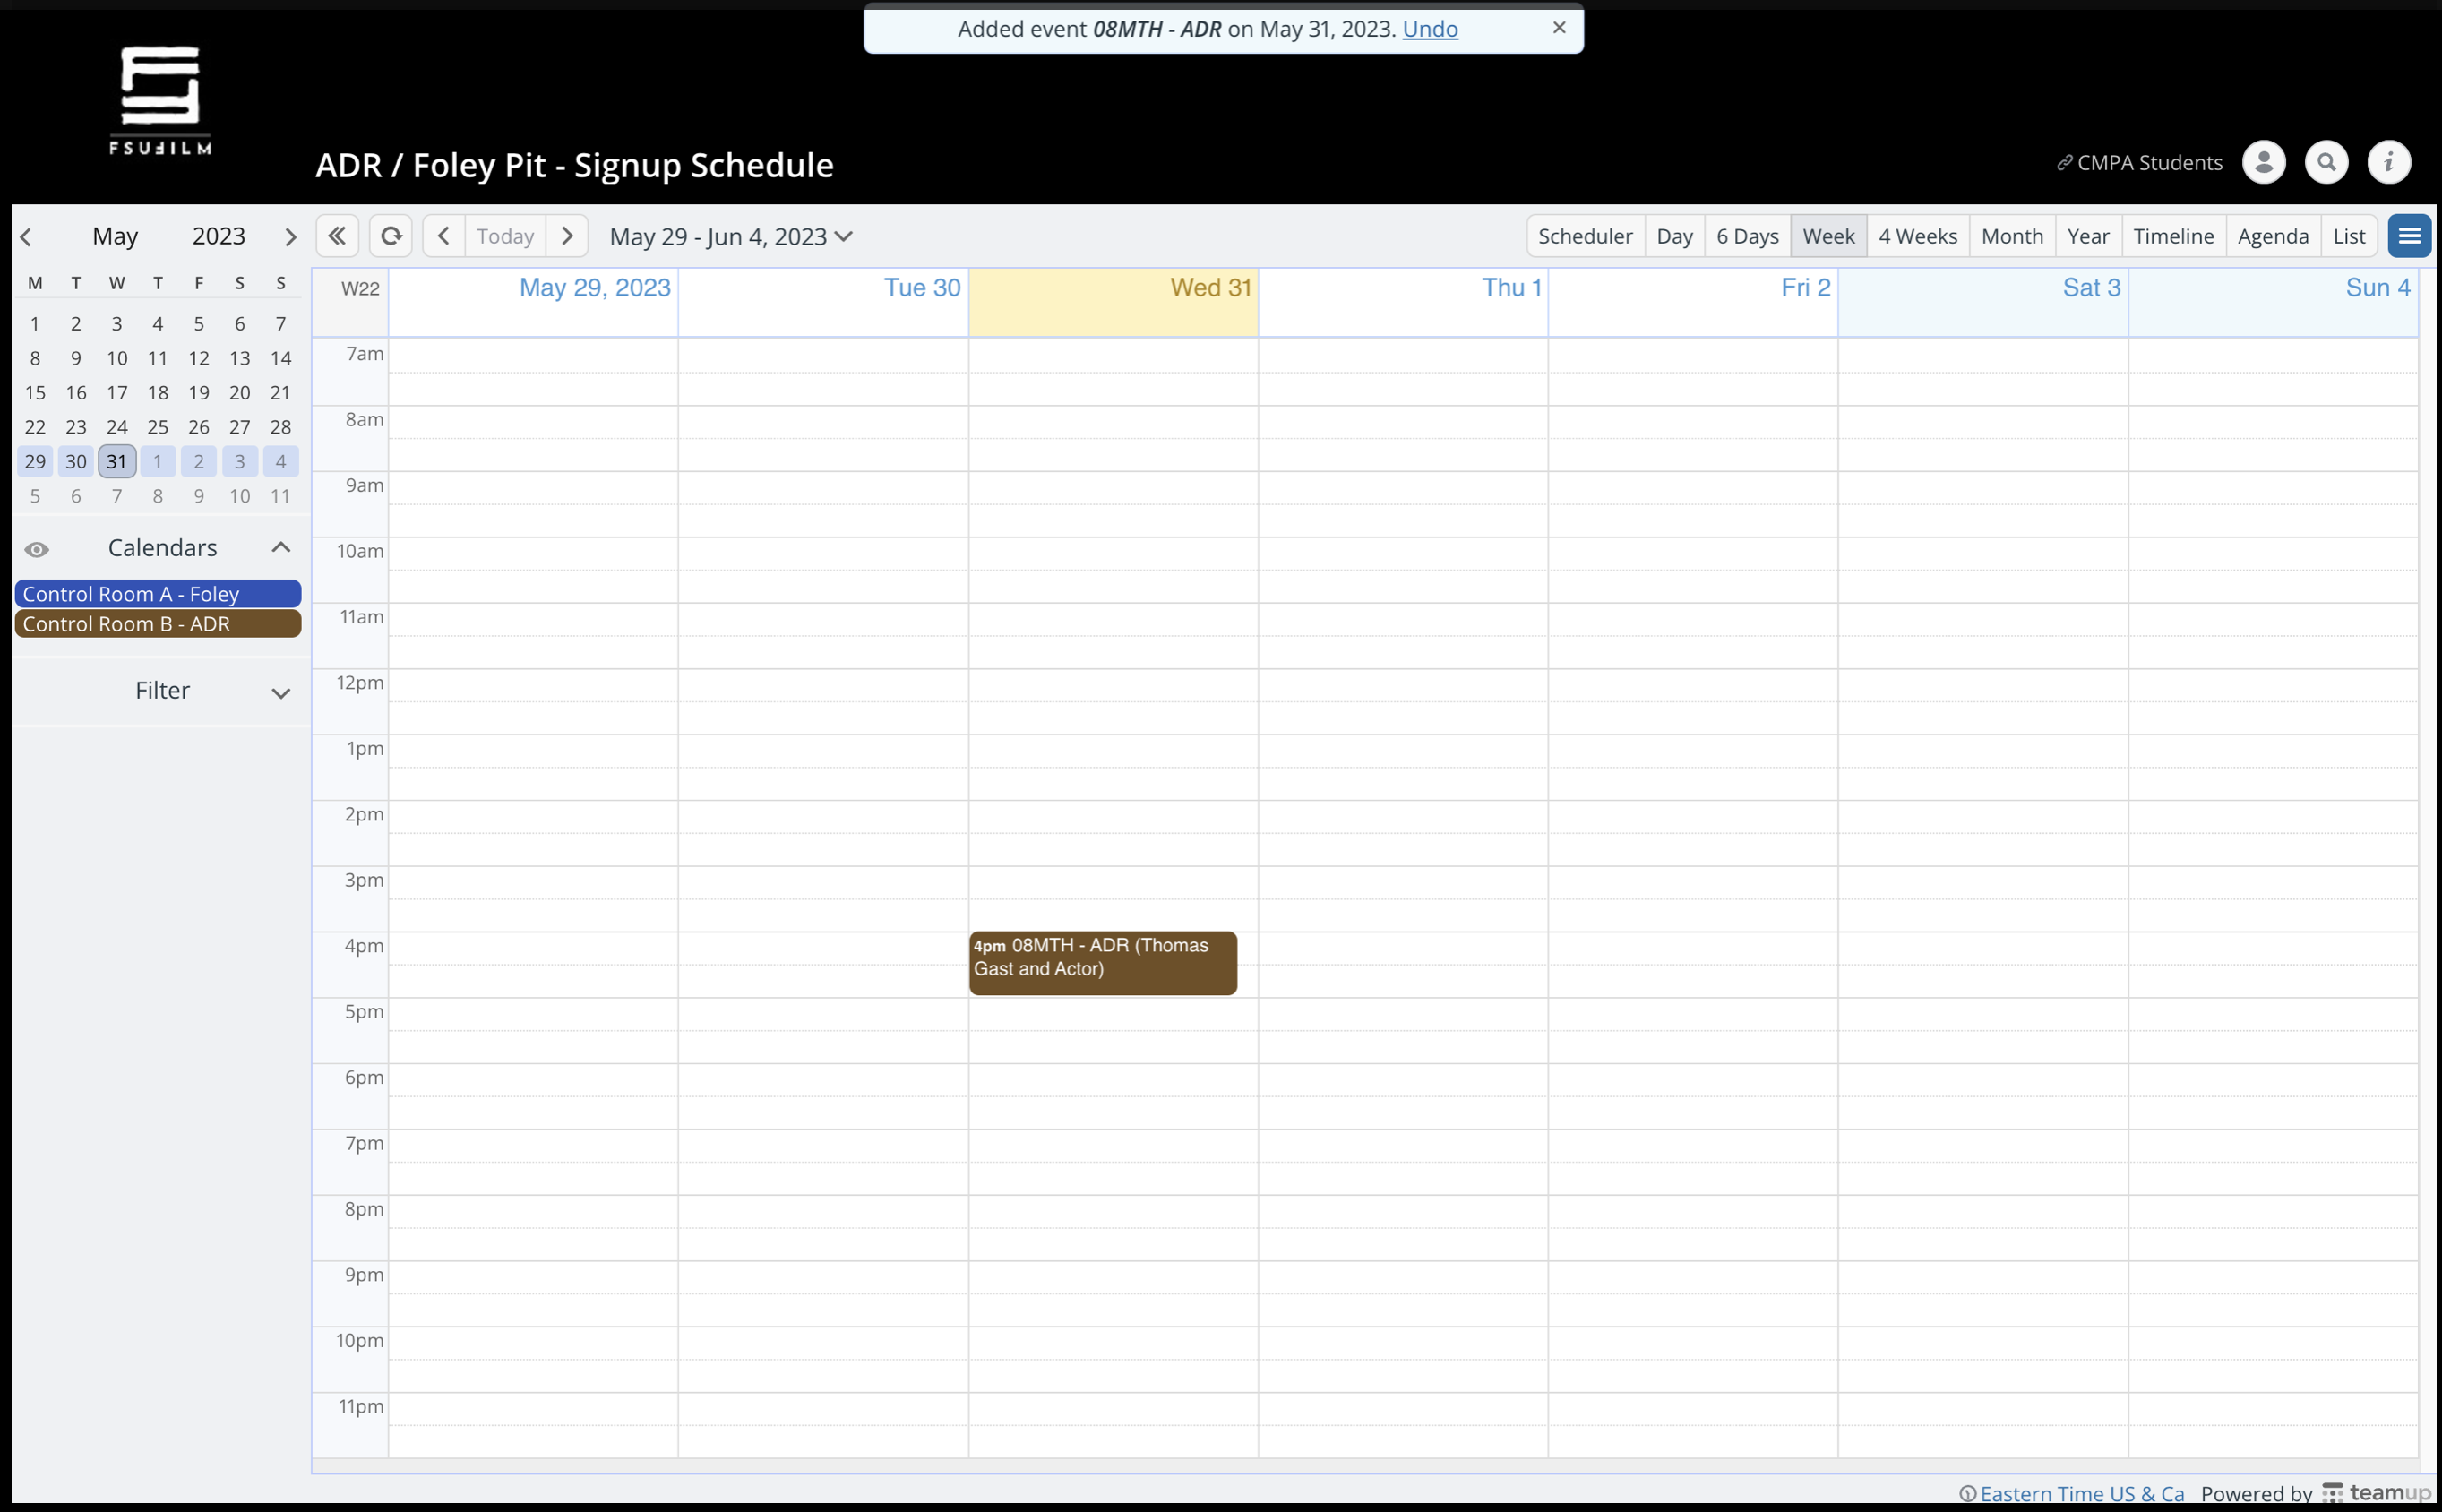
Please be considerate of your fellow filmmakers and only book the time that you need.
Recording ADR or Foley
Make sure that your ProTools session is closed in your suite on the Post Hall. Mount your show volume in either Control Room A or Control Room B. Navigate to your ProTools project and open it.

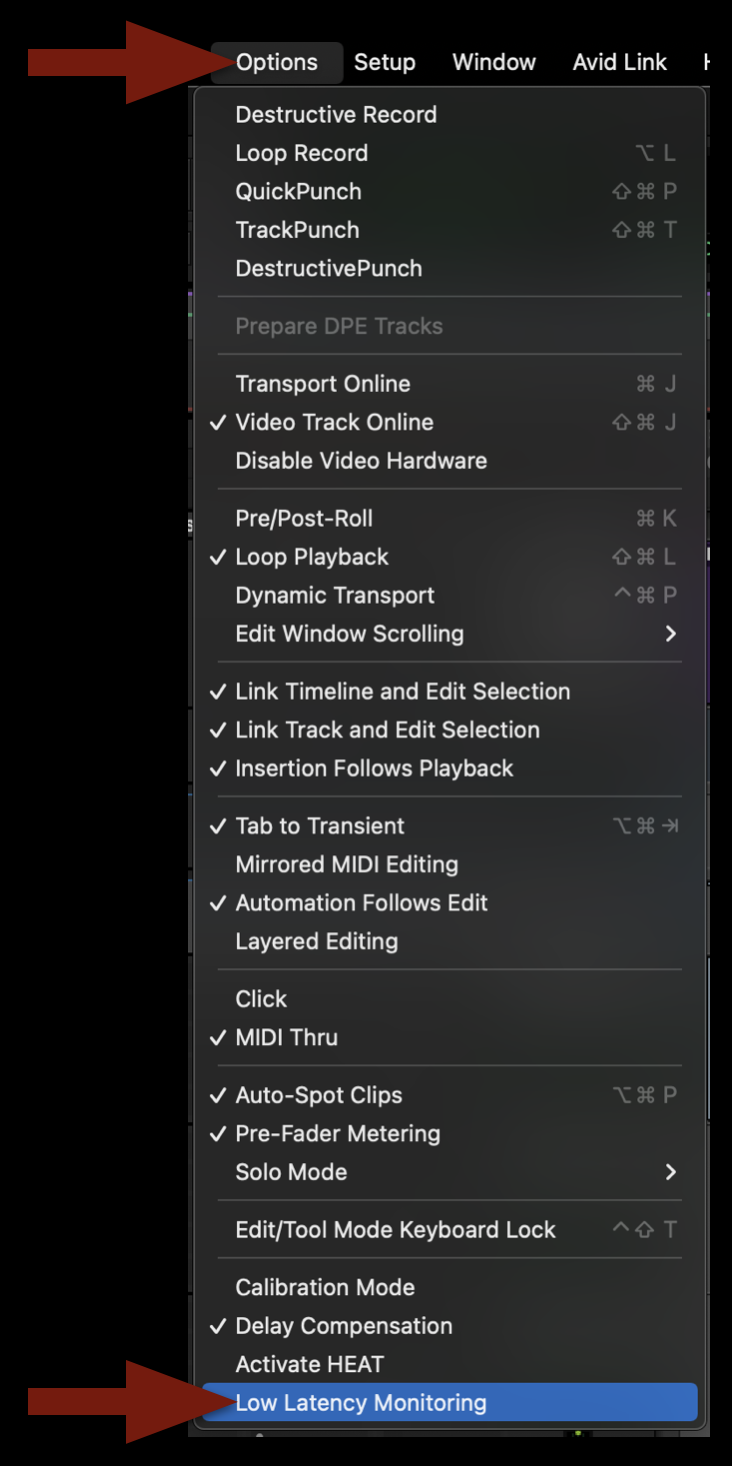
Once the project is open, navigate in the task bar to Options and then scroll down and select “Low Latency Monitoring”. Make sure there’s a checkmark after you have it selected.
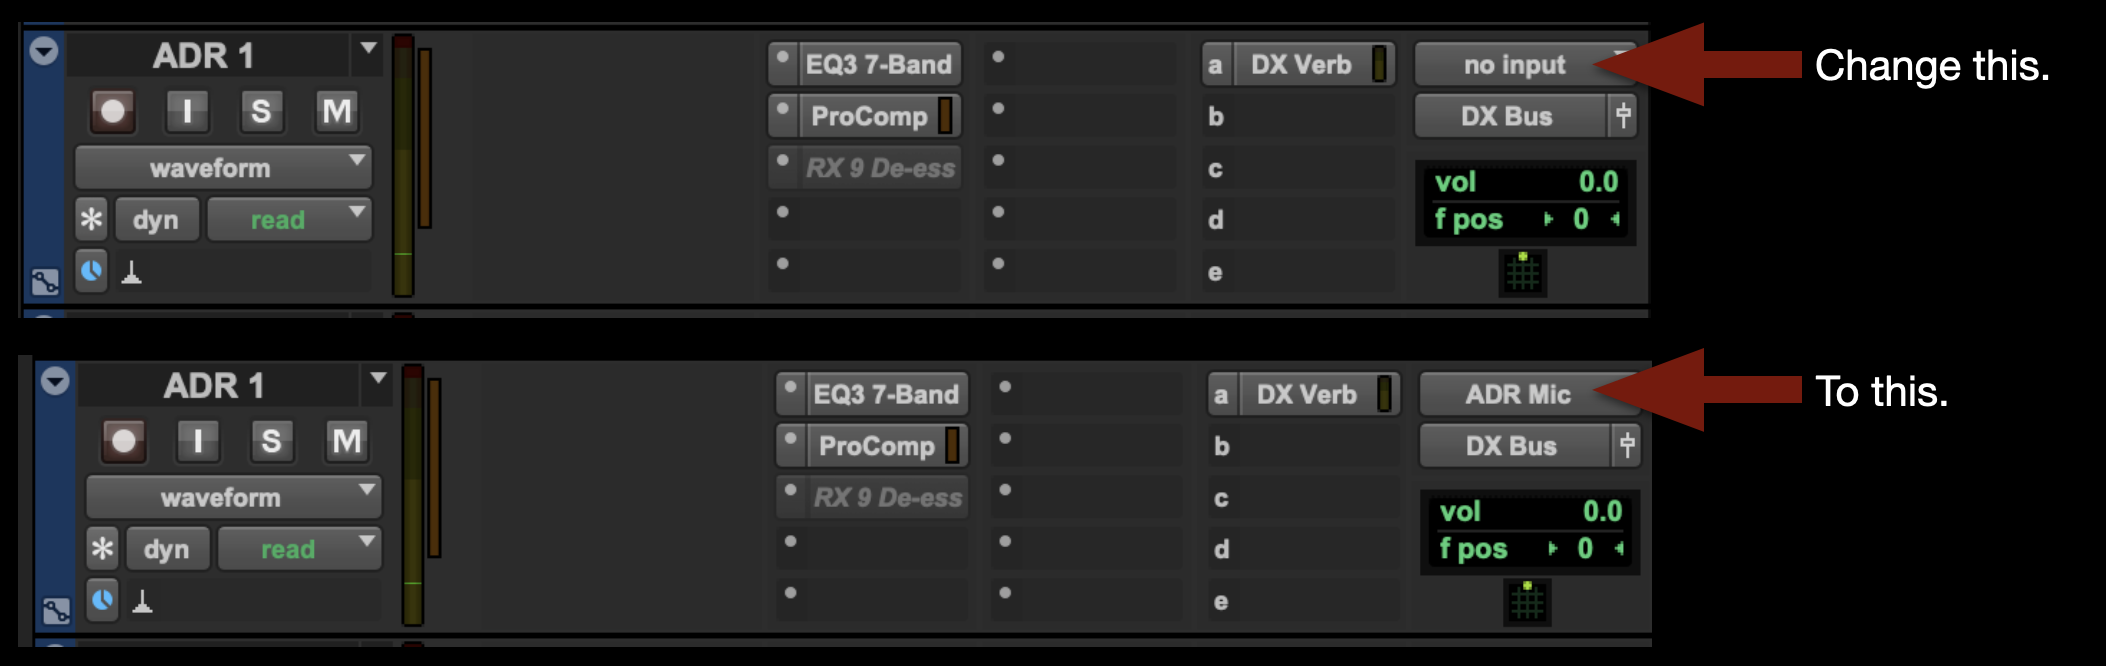
Navigate to the ADR track you wish to record on and change the input from “no Input” to “ADR Mic”:
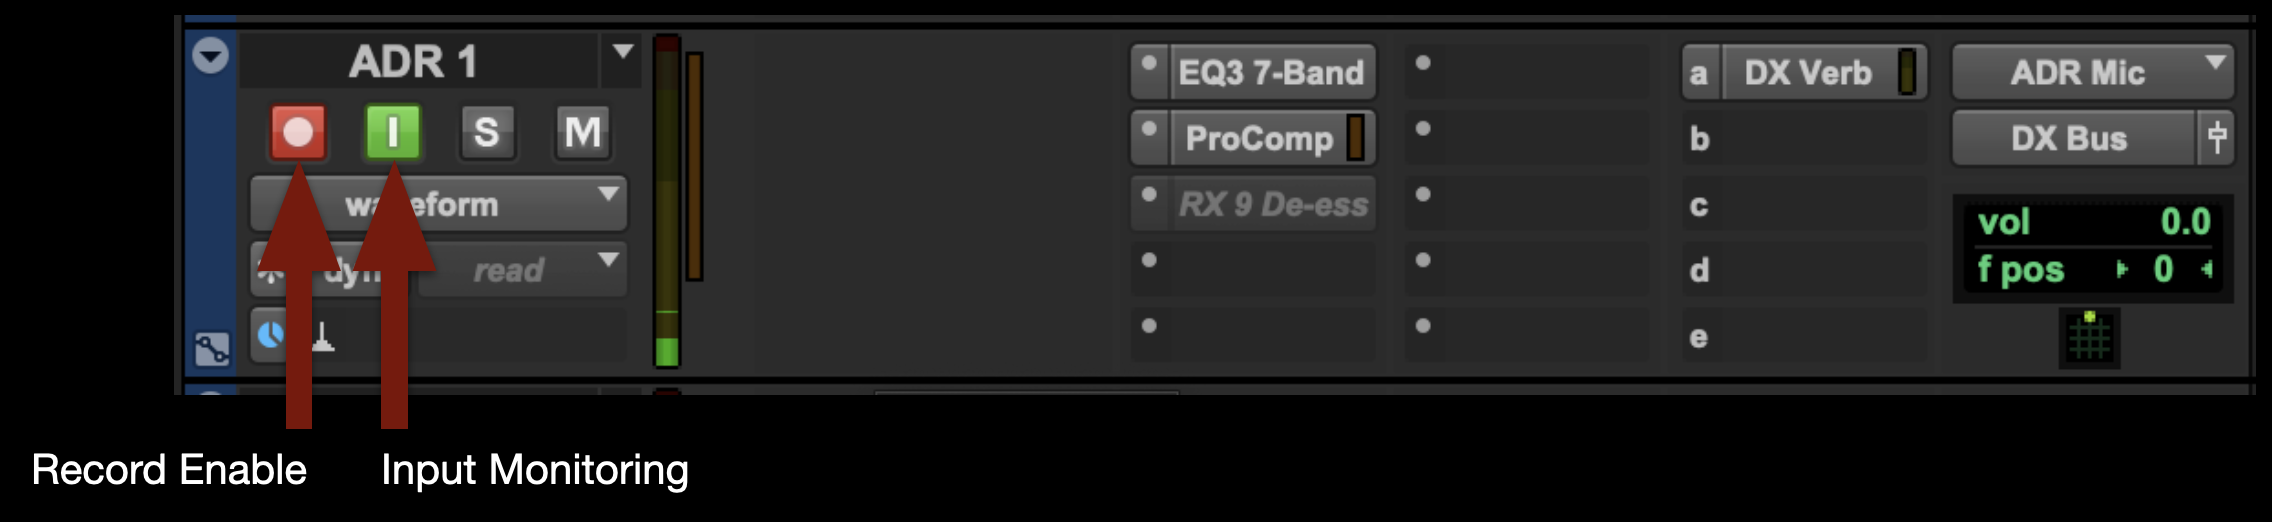
Record Enable the track and select Input Monitoring. Note: When you are finished recording, you’ll need to deselect both of these for playback.
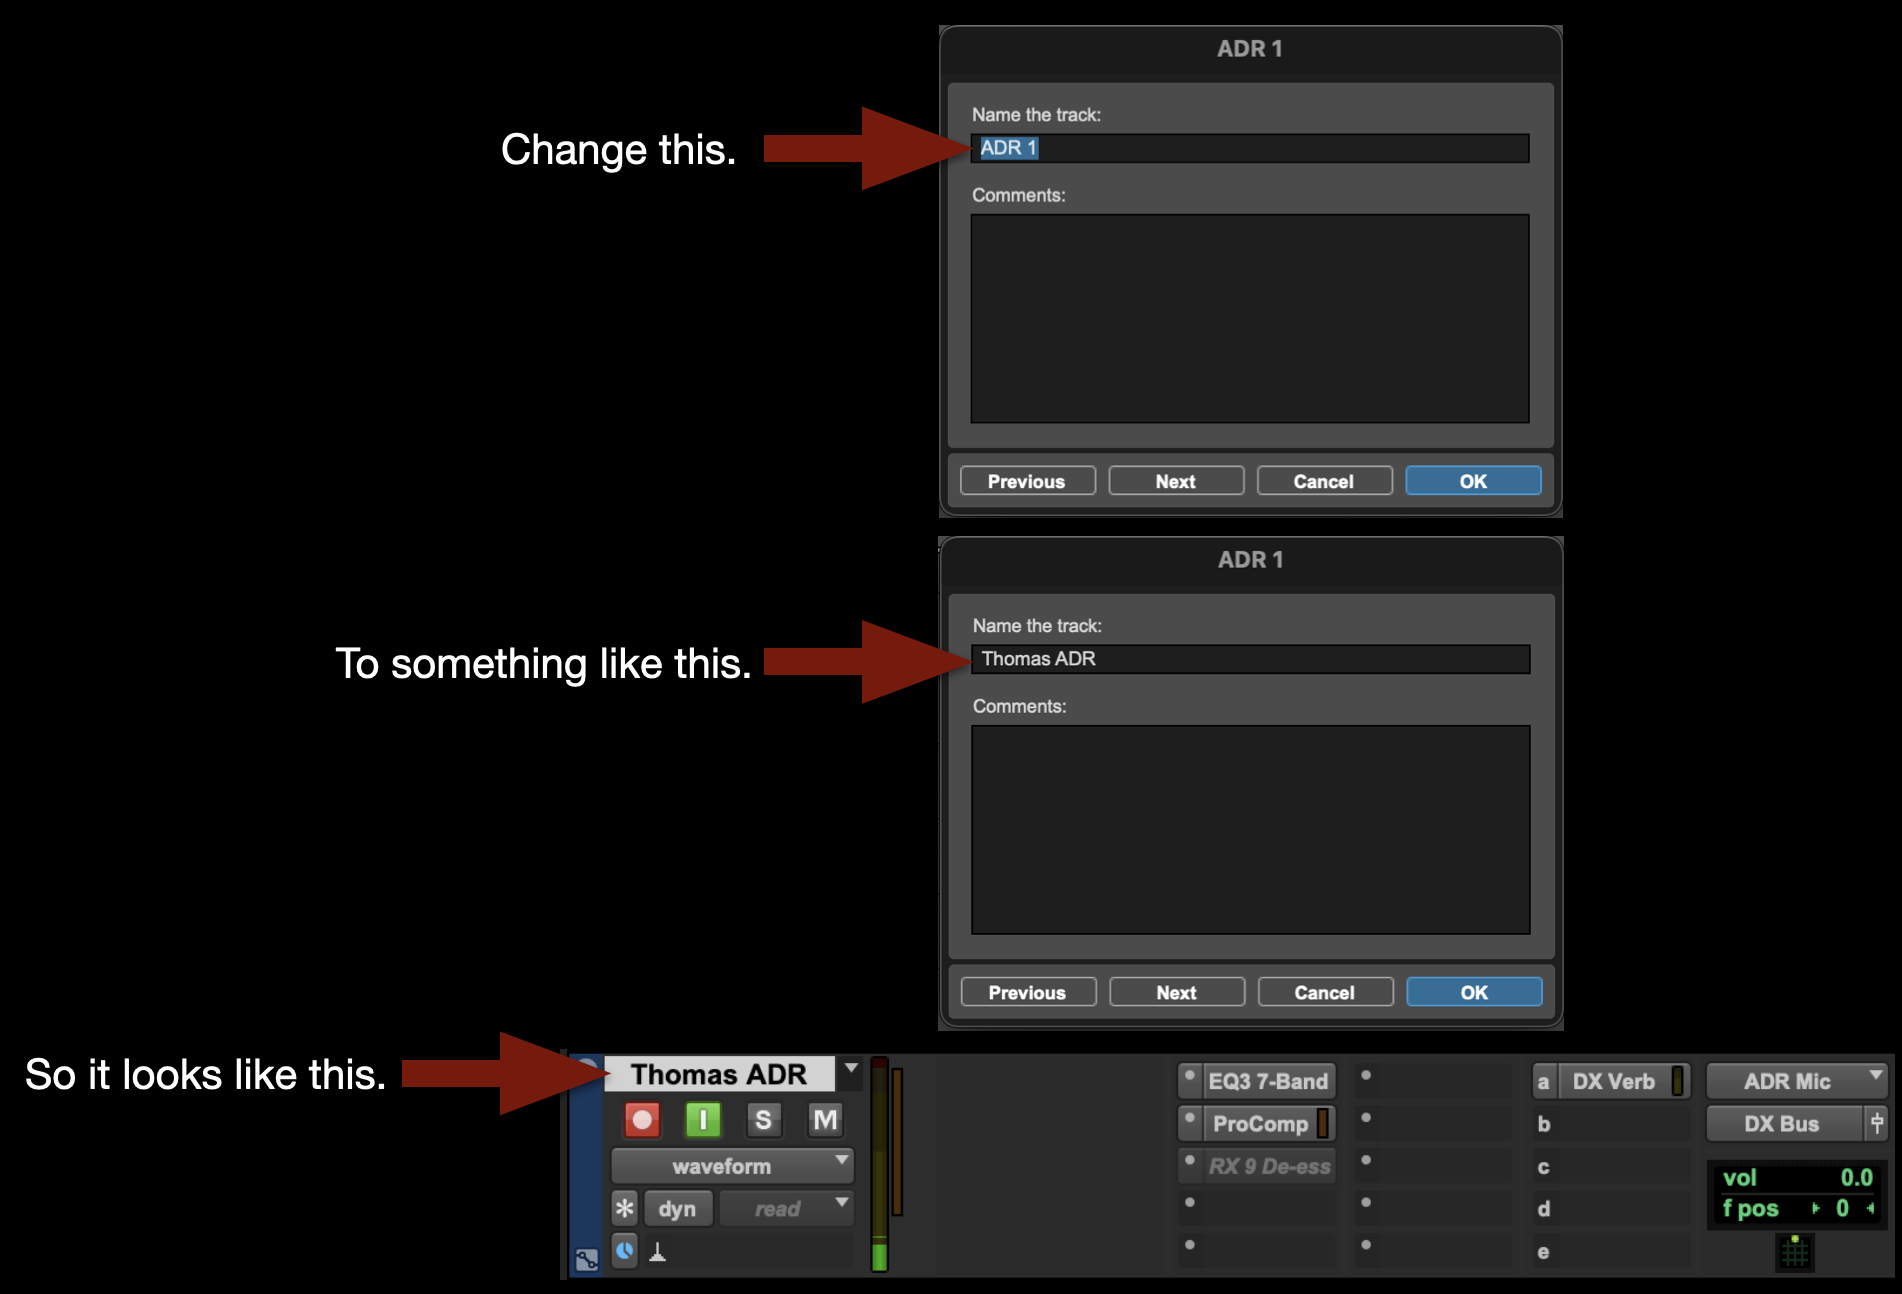
Change the name of the track to whatever you want the clip name to be:
If wish, you can select Pre-roll time or Post-roll time:

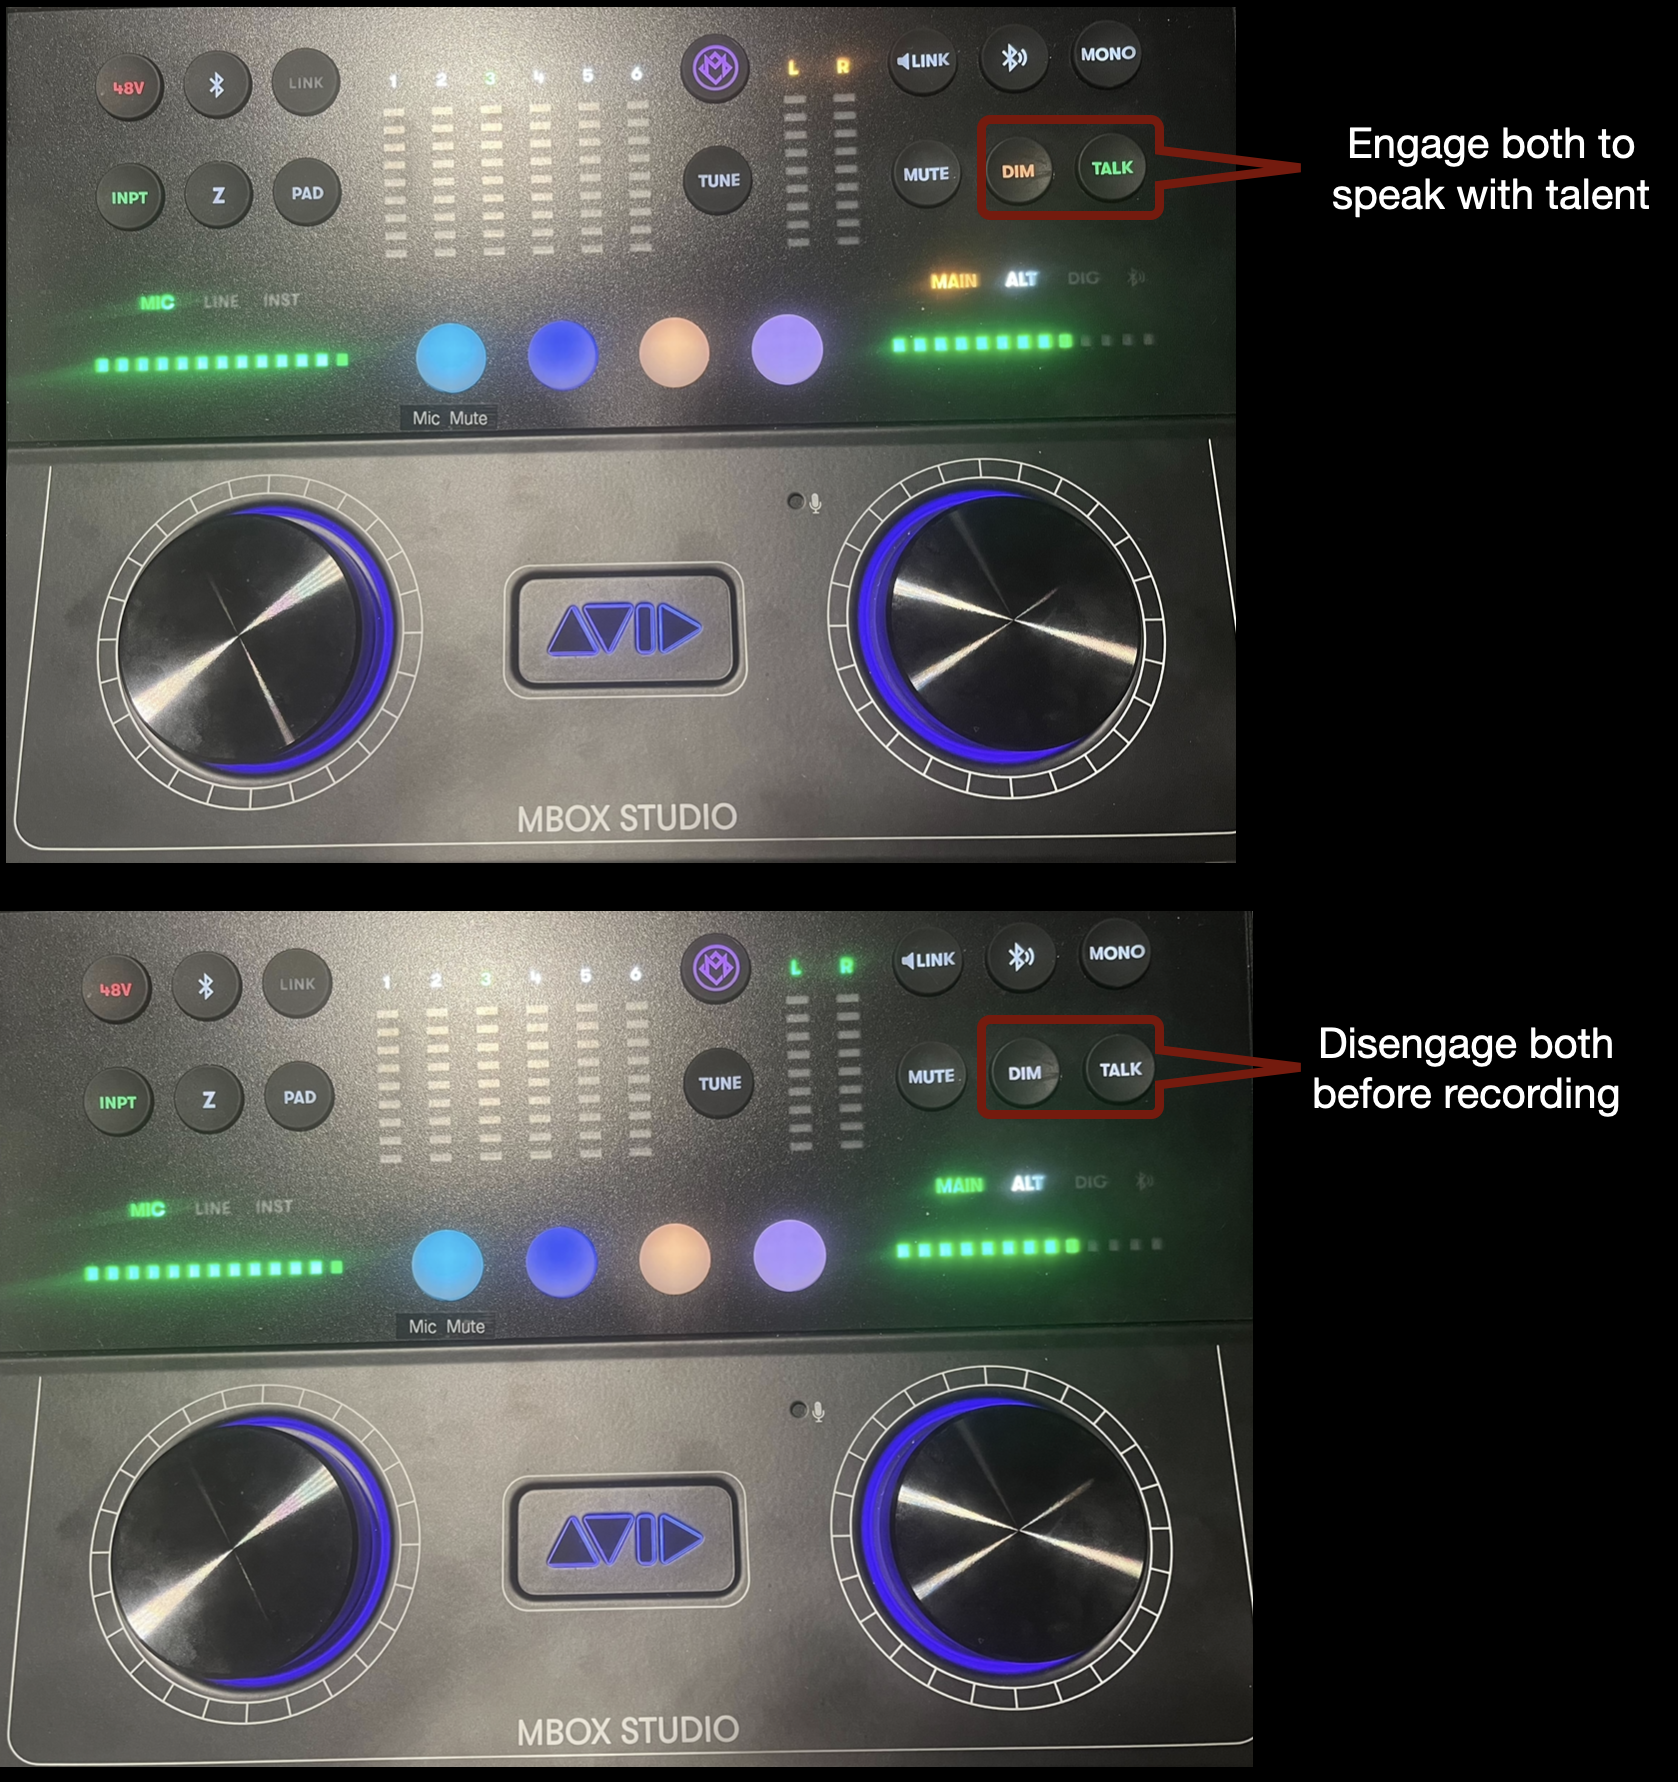
To talk to talent during the session, press both DIM and TALK on the MBox Studio. Press both buttons again to disengage talkback before recording.
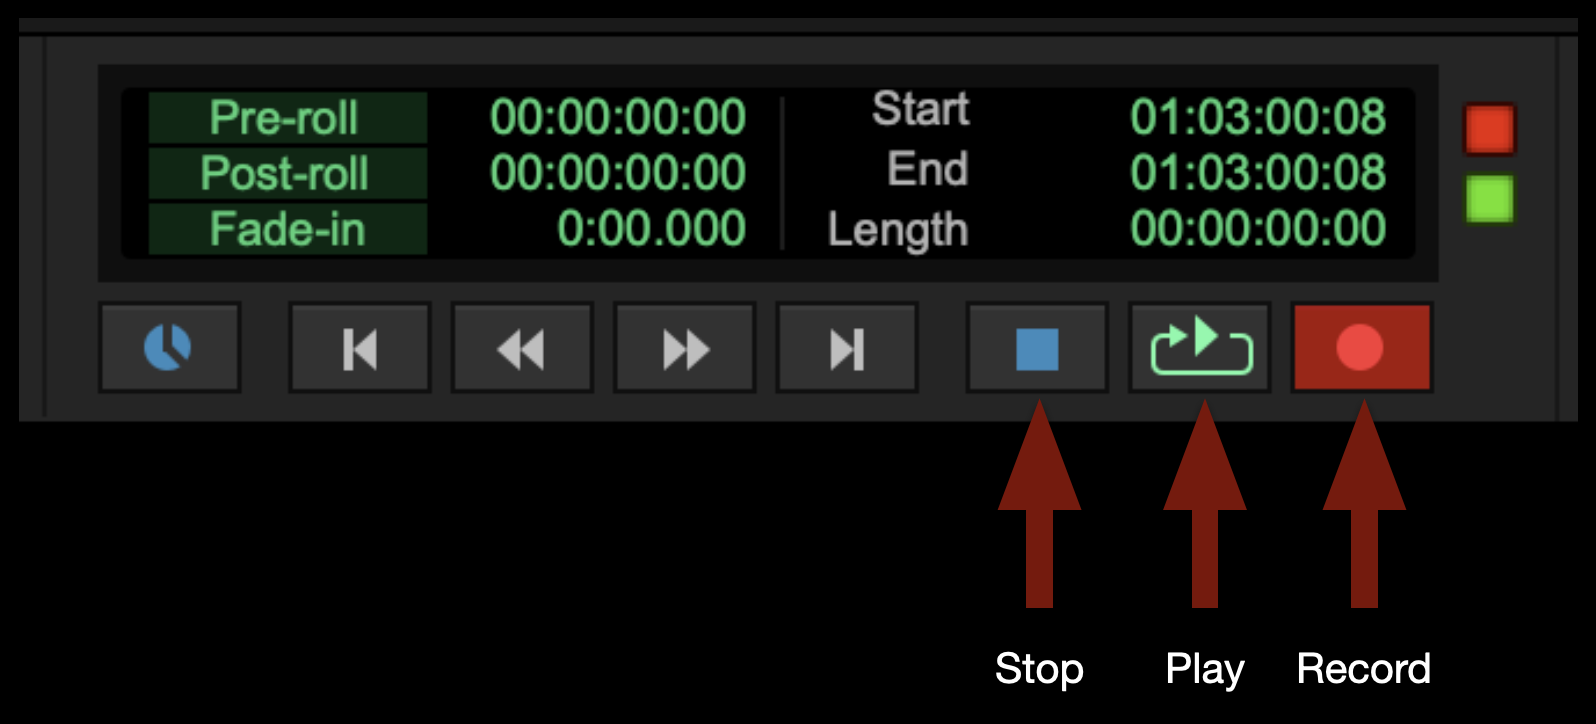
To start recording, select the red Record button in the transport window and then select the Play button (or hit the space bar). To stop recording, select the Stop button in the transport window (or hit the space bar).
That’s it! When you are done please save and close your ProTools project. Remember to clean up after yourself before you leave.