Category: F2

  • Stock Footage

    Overview

    Stock footage refers to pre-existing video materials licensed for use within a production, including archival footage, environmental plates, specialty imagery, or other externally sourced visual assets. This page outlines the policies, approval considerations, licensing expectations, and workflow requirements associated with incorporating stock footage into student projects.

    Because stock footage involves both creative and legal considerations, productions must ensure that outside materials are used appropriately, documented properly, and integrated thoughtfully into the project. Learning how to evaluate licensing restrictions, visual consistency, and workflow compatibility helps students better understand the professional standards surrounding third-party media usage in film and post-production environments.

    Limitations on Use of Stock Footage

    As a school, our primary focus is on the creation of original work. The emphasis is therefore on students creating all the imagery for their films themselves, rather than relying on stock footage libraries. Educationally, this helps students learn the process of creating original imagery, and the labor and resources that are needed to accomplish that. This helps students better understand the value of intellectual property, as their focus is more on creating intellectual property from scratch than on “borrowing” work created by others.

    The process of clearing the rights for stock footage also informs the school’s policies. Many stock footage resources have inaccurate or misleading copyright information. For example, sites may claim that footage is in the public domain when it is not. To work through all the potential copyright and licensing issues with stock footage can be a lengthy and laborious process for both students and faculty. On many of our production cycles, there either isn’t sufficient time to do this or the time could be better spent focusing on other aspects of the production.

    For these reasons, stock footage use is limited to F2, FC, and MC projects. Stock footage is not allowed on F1, F3, M1, M2, or M3 projects.

    F2 • FC • MC

    • Stock footage is allowed.
    • All stock footage needs to be cleared by the Head of Production, to ensure that we have the proper rights to use the footage.
    • If stock footage is going to appear on camera during production — e.g., imagery on a television within a scene — the footage needs to be cleared before the start of principal photography. If stock footage is added during post-production, the footage needs to be clear before picture lock.
    • Stock footage can only be purchased with CMPA funds. Students are not permitted to purchase stock footage with personal funds.
    • Stock footage that is already owned by the CMPA, such as media that was originally shot for another FSU film, may be utilized. Please allow two weeks of turnaround on any such requests, in case the media files need to be pulled from the archive.

    F1 • F3 • M1 • M2 • M3

    • Stock footage is NOT allowed.
    • All footage appearing on screen during the running time of these projects needs to be created by students during the assigned production days. This includes any content that needs to appear on screens within shots — e.g., a news broadcast that appears on a television within the scene. Producers will need to build time into the production schedule to create this embedded content during the assigned production days.
  • Press Kit Template

    Overview

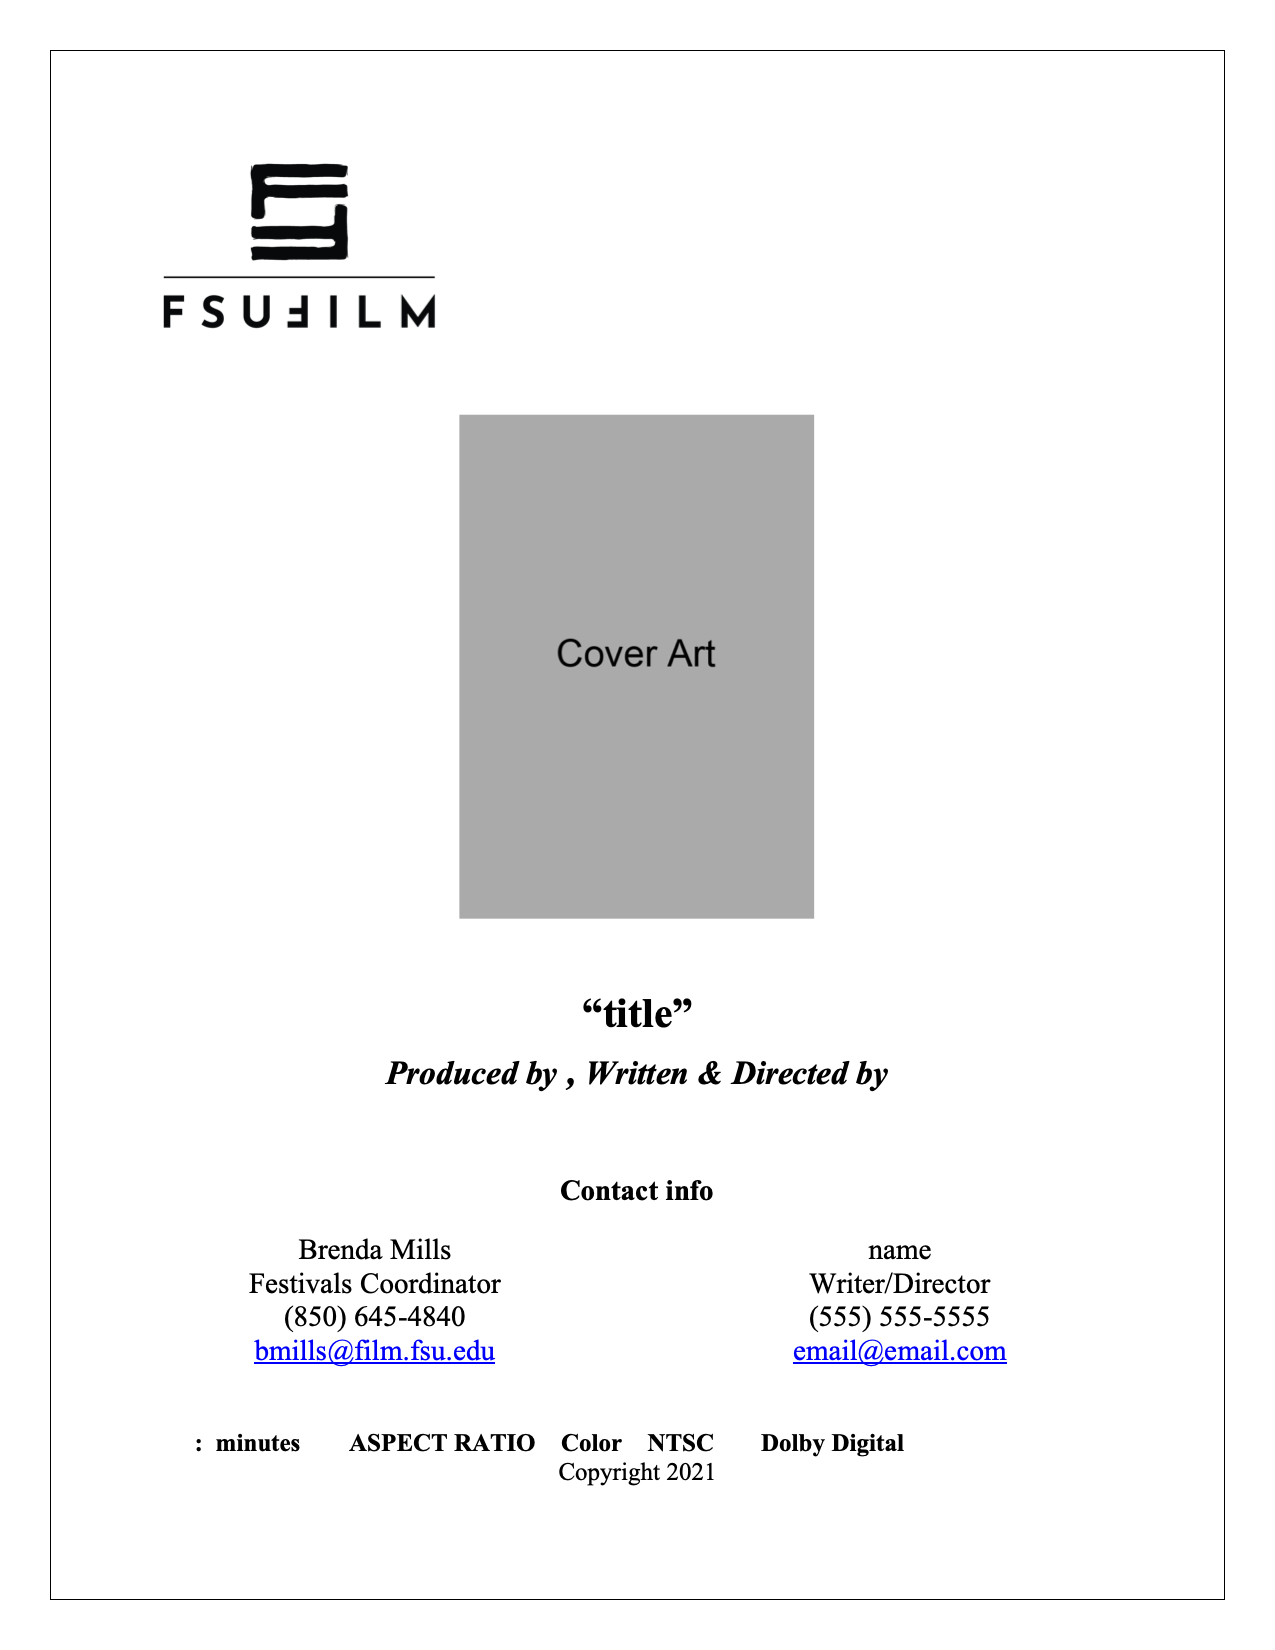
    A press kit serves as a production’s professional public-facing package, providing press outlets, distributors, collaborators, festivals, and audiences with essential information about the film. This template is designed to help students organize and present materials in a clear, polished, and industry-standard format, including items such as synopses, credits, bios, stills, contact information, and director statements.

    Beyond simple promotion, the press kit helps define how a project is positioned and understood externally. A thoughtful, cohesive press kit can significantly strengthen a film’s festival presence and professional presentation. Learning how to prepare these materials is an important part of understanding the broader lifecycle of a film beyond production itself, including marketing, exhibition, and audience engagement.

  • Thumbnail Templates

    Overview

    Thumbnail images are often the first point of contact audiences have with a film online, making them an important part of a project’s overall presentation and discoverability. This post provides standardized thumbnail templates to help maintain visual consistency across school-related promotional materials and online showcases.

    The use of templates ensures that projects meet technical specifications while encouraging students to think strategically about visual communication and audience engagement. Effective thumbnails should clearly represent the tone and identity of the project while remaining legible and visually compelling across a range of screen sizes and platforms. Developing an understanding of these presentation standards is increasingly important in contemporary distribution environments.

    Production Paperwork

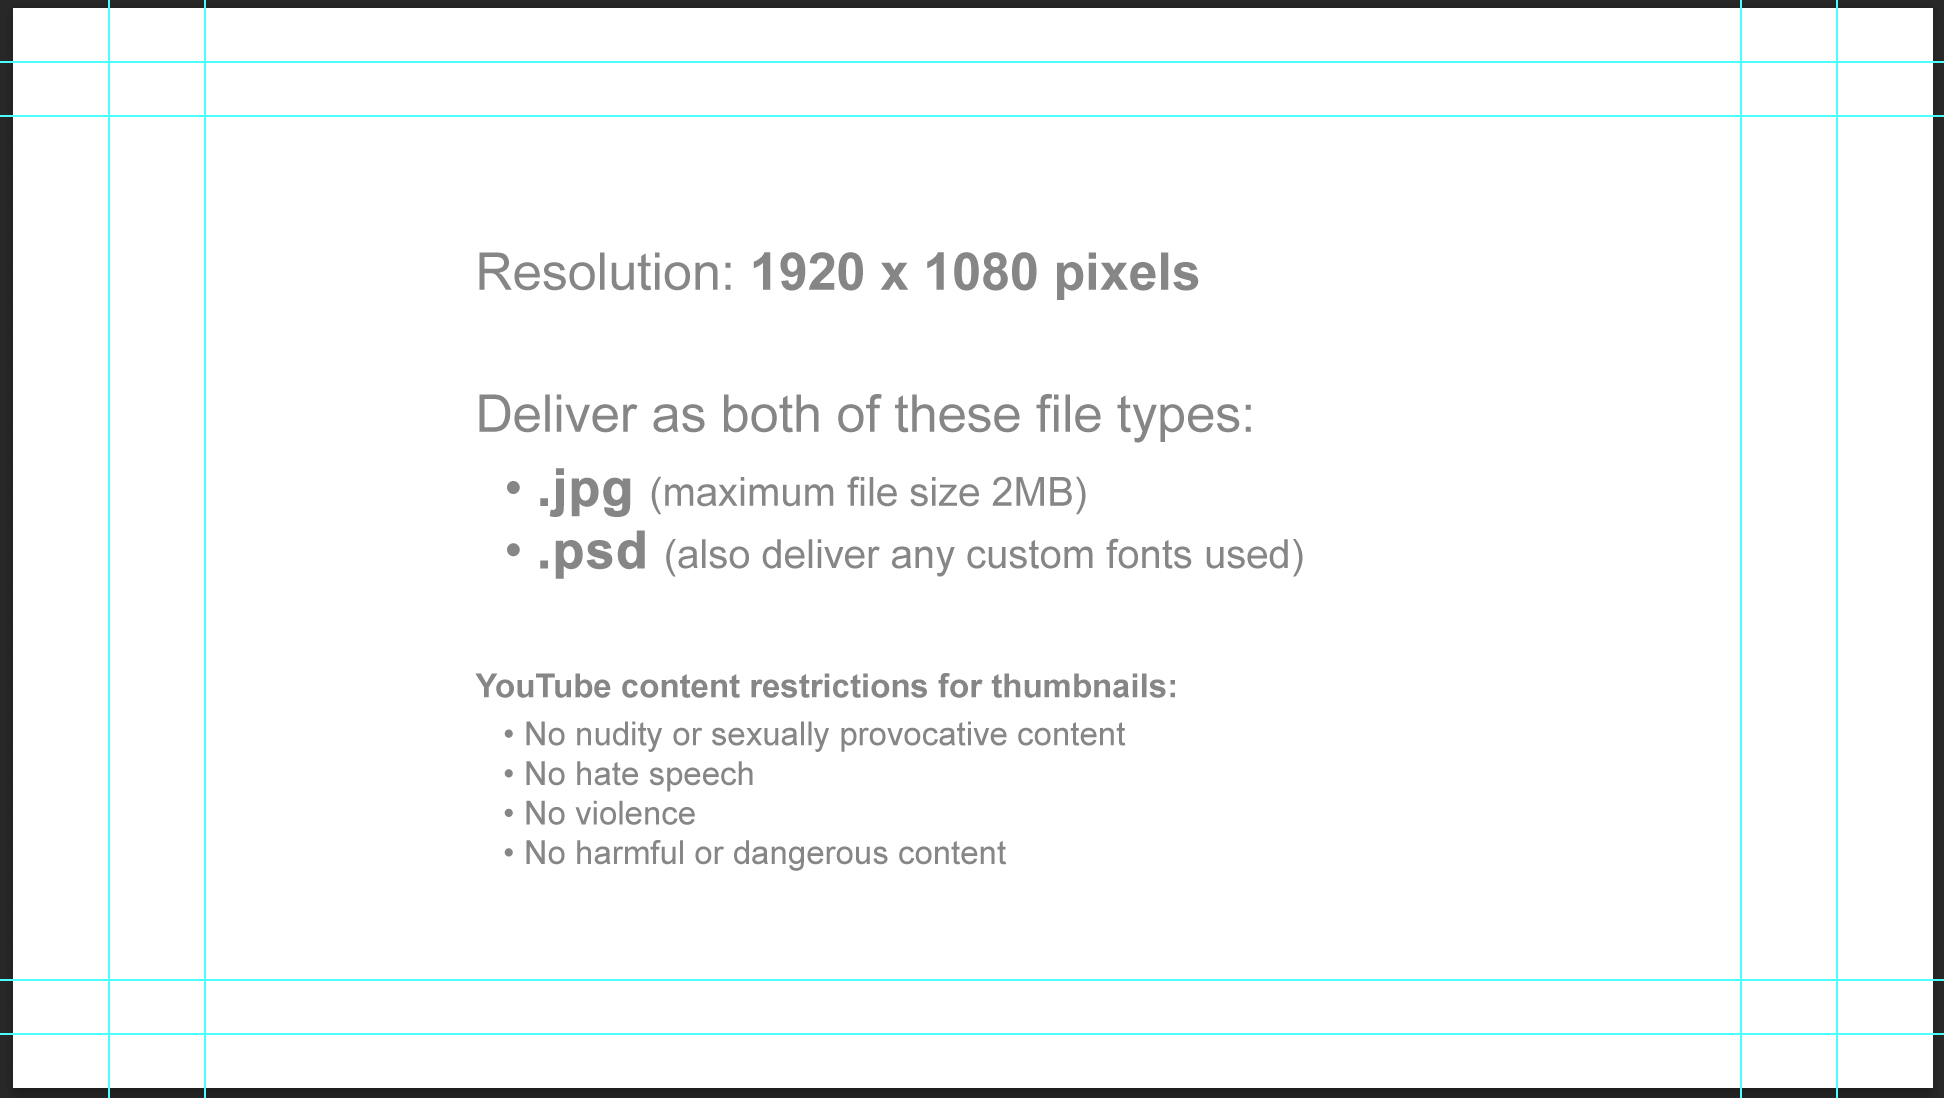
    Horizontal thumbnail template:

    Horizontal thumbnail specs

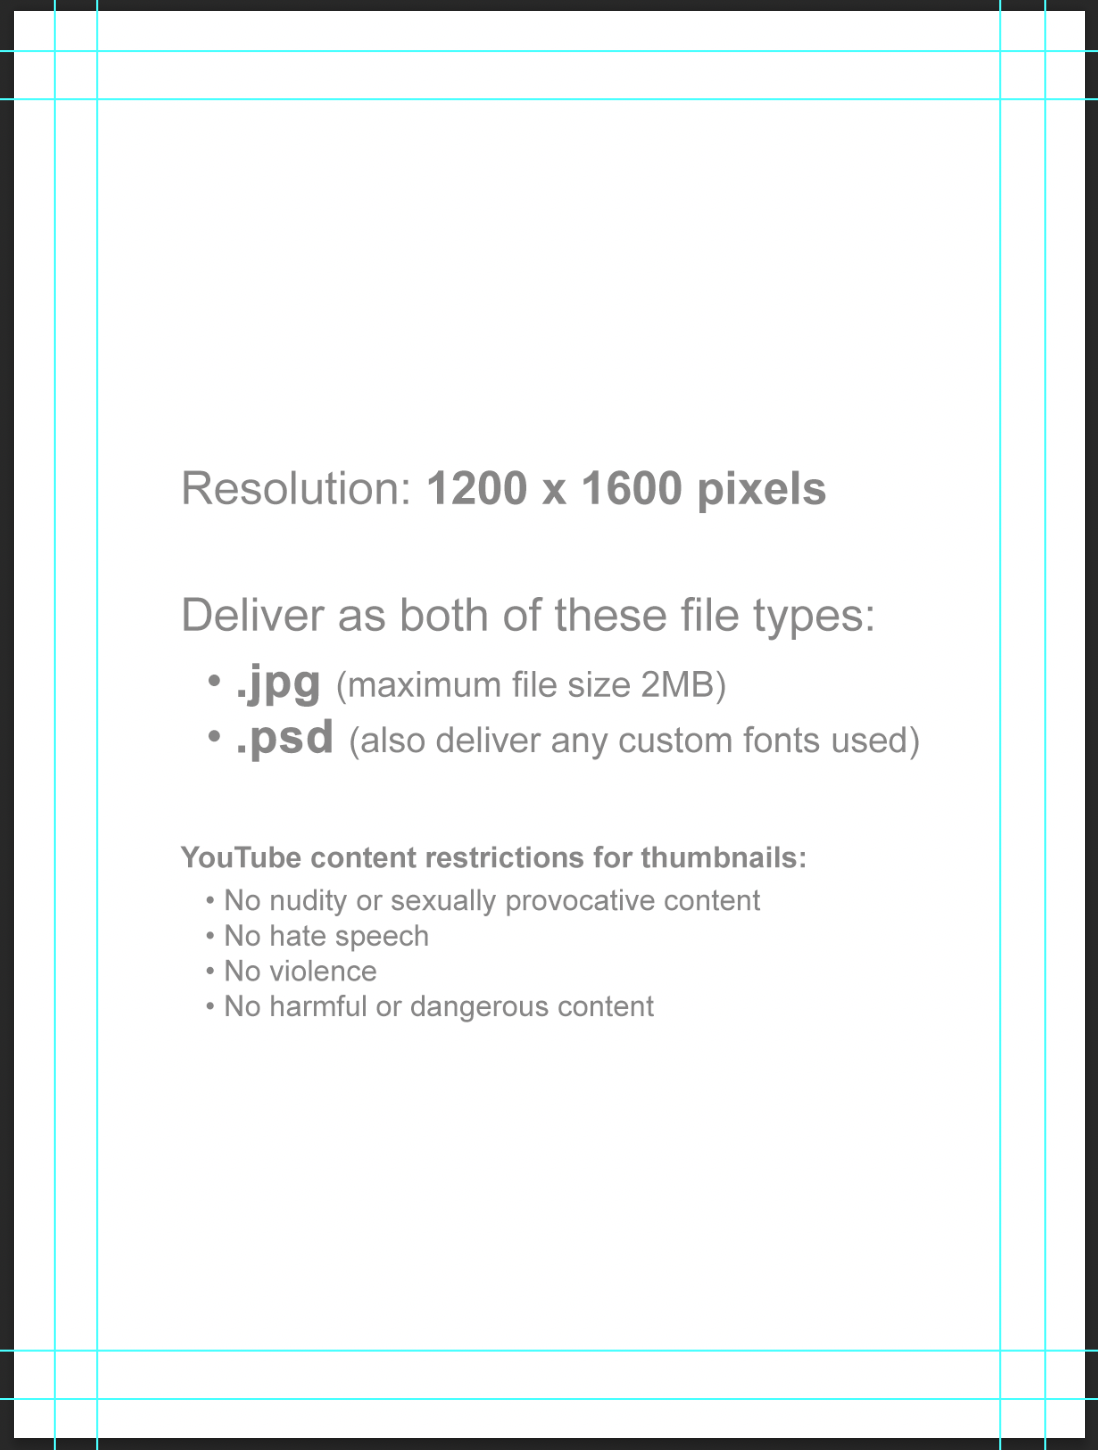
    Vertical thumbnail template:

    Vertical thumbnail specs

    Instructions

    Thumbnail images will be used in displays online (Vimeo, YouTube, etc). Since some websites use horizontal thumbnails (1920×1080) and some use vertical thumbnails (1200×1600), you will deliver one of each.

    Each thumbnail should contain two elements:

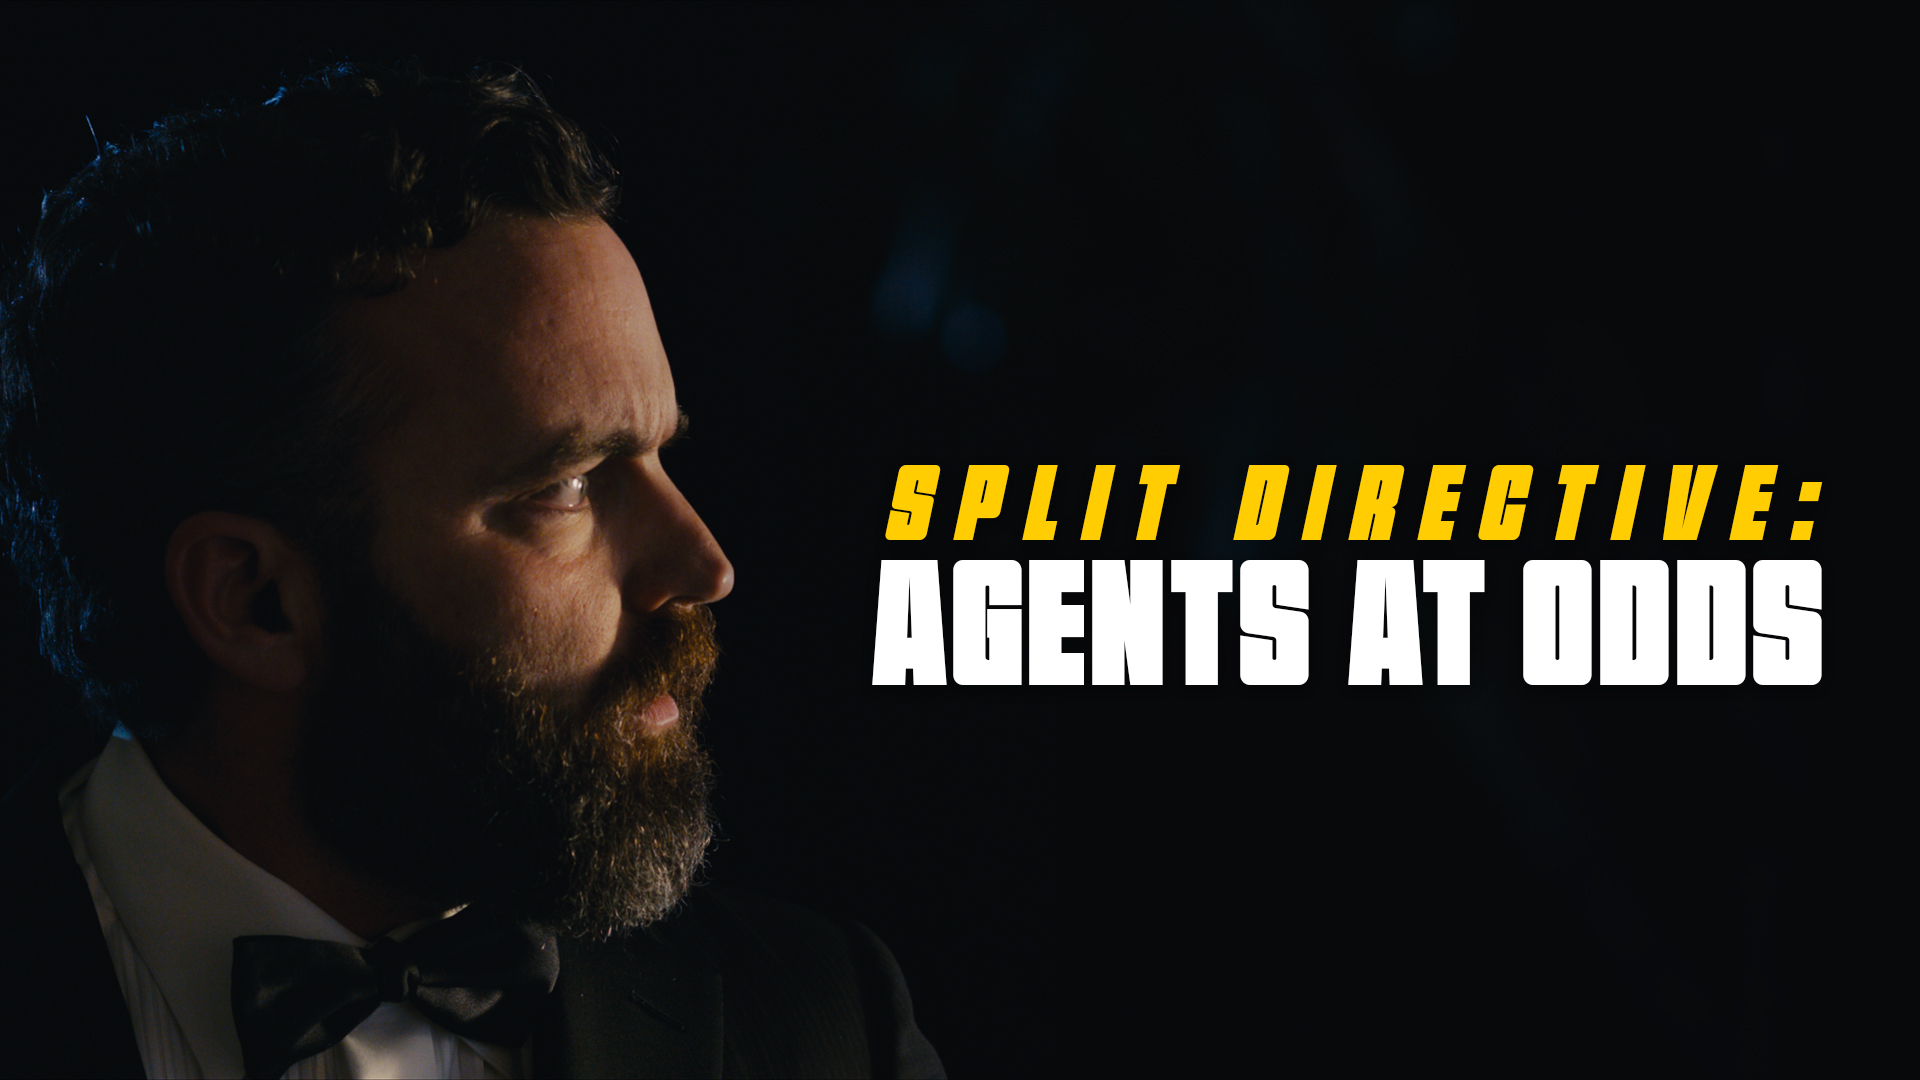
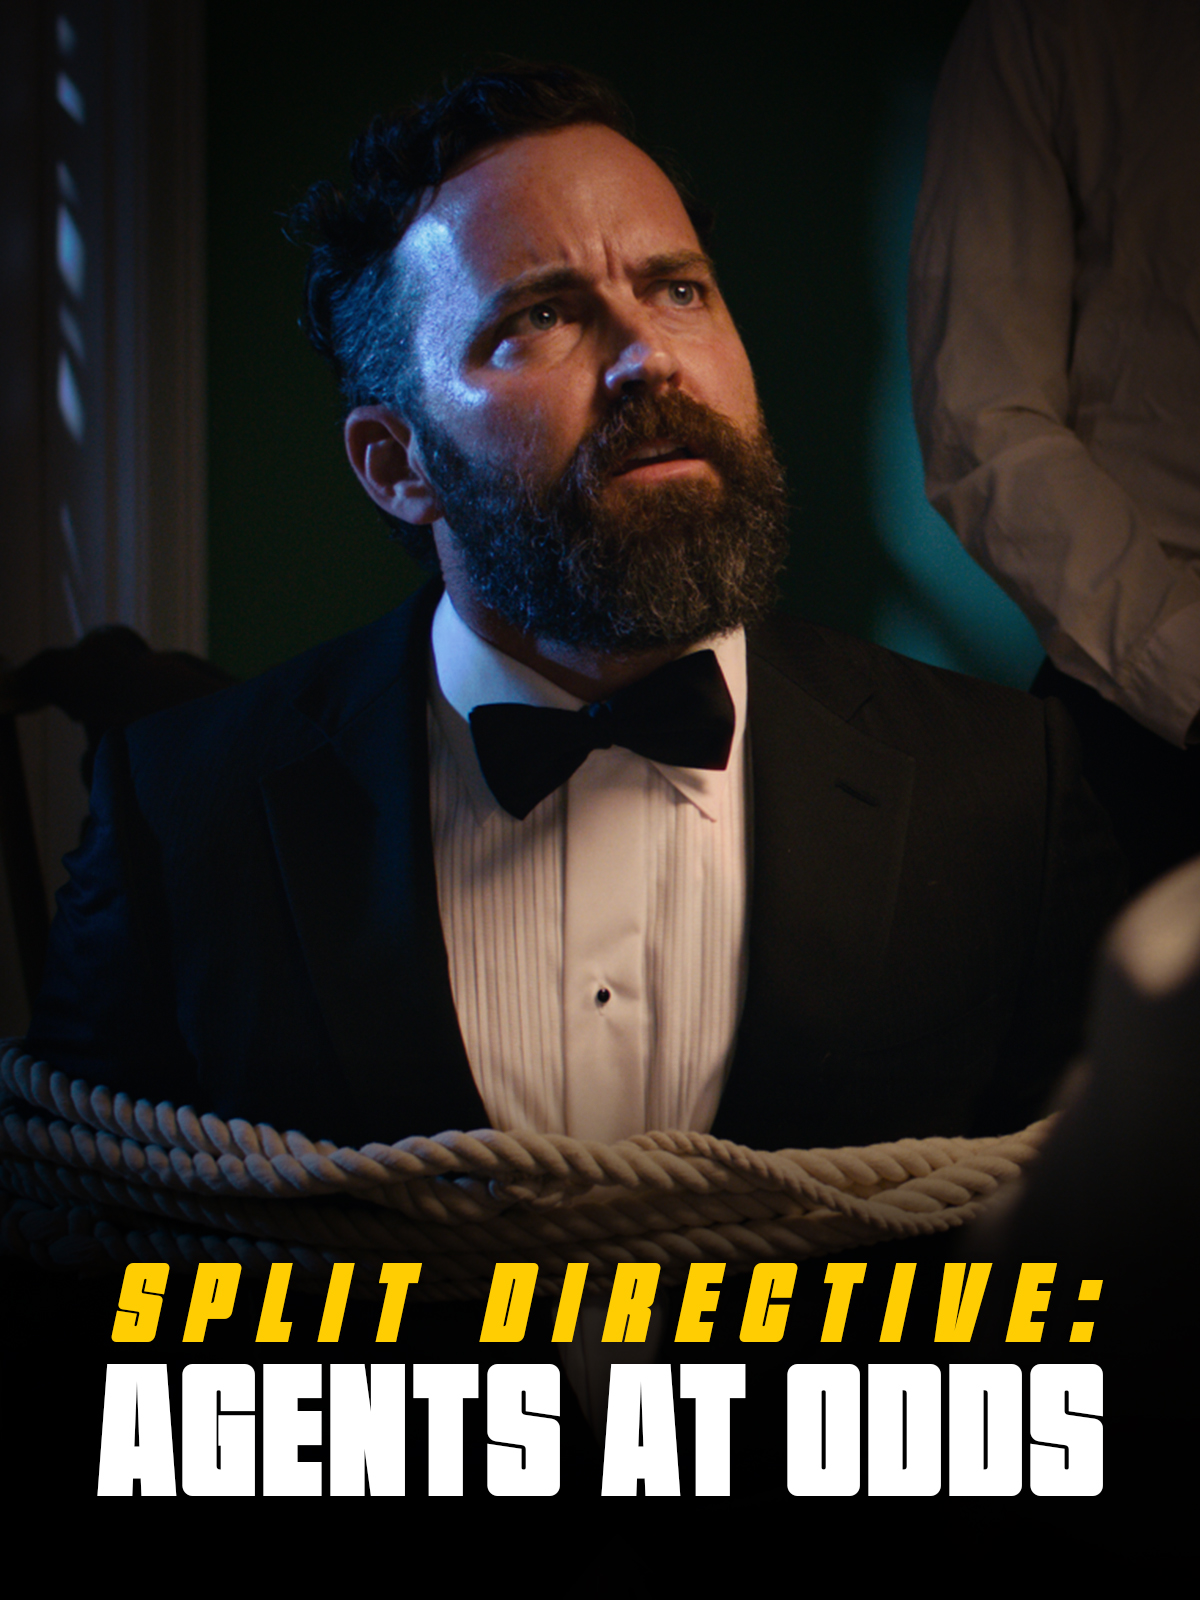
    1. A carefully selected image that fills the entire frame (i.e., no letterboxing or black bars). This image is typically derived from either the poster or one of the production stills.
    2. The title of the film. Ideally, for consistency of branding, this should match the font design of the title on the poster. No other text should appear in the thumbnail.

    Examples:

    Example of a horizontal thumbnail
    Horizontal (1920x1080px)
    Example of a vertical thumbnail
    Vertical (1200x1600px)

    Do:

    • Save a flattened JPG file (maximum file size 2MB) and a layered PSD file (also deliver any custom fonts used).
    • Keep all of your layers inside the appropriate folders, so that everything remains well-organized when you deliver the final Photoshop file. Make sure all of your layers have appropriate names, so that someone else could make sense of what each layer is.

    Do Not:

    • Do not adjust the dimensions or resolution of the file. It’s set up to meet the specs needed for online viewing.
    • Note these online content restrictions for the thumbnails:
      • No nudity or sexually provocative content
      • No hate speech
      • No violence
      • No harmful or dangerous content
  • Daily Reporting

    Overview

    Daily reporting involves documenting the progress, activities, and logistical details of each production day throughout the F2 process. This may include information related to completed work, scheduling progress, production delays, crew activity, equipment usage, expenses, incidents, or other operational details generated during filming.

    Accurate daily reporting is important because it creates an ongoing record of the production’s status across the course of the shoot. Consistent reporting practices also help productions identify problems early, track progress against the schedule, maintain accountability, and preserve important documentation that may be needed later during post-production, delivery, or administrative review.

    Project Meeting

    The Director(s) of each project will have a required Zoom meeting with Valerie some time during the project’s production window. Each team should schedule those meeting times with Valerie and add them to your Production Schedule in Google sheets.

    Daily Reporting

    Each group must post a report in the group’s Teams channel by 9:00 PM (EST) every day during F2 Production. Missing, late, or incomplete reports will result in a grade reduction for all members of the group. Directors should post on their shoot days, and anyone can post on non-shoot days.

    Each day’s report should include the following information:

    1. What did you accomplish today?

    • A short summary of the day’s events

    2. Photo of the day

    • If it was a shoot day, then include a behind-the-scenes photo.
    • If it was not a shoot day, then any photo that is indicative of the day’s events.

    3. Any additional concerns

    • Any incidents, accidents, delays, equipment problems, health concerns, etc.
  • Budgets

    Overview

    F2 productions are provided with limited production funds intended primarily to support travel, production supplies, and payment for services. This page outlines the expectations and proceduresassociated with managing and spending those production funds responsibly.

    Even at a smaller scale, learning to manage production resources is an important part of filmmaking. Budget limitations require productions to plan ahead, prioritize needs carefully, and communicate clearly about how resources will be used. The process also reinforces the professional expectation that production funds should be handled responsibly, transparently, and in support of the overall well-being of the crew.

    Allocation

    Each student will be allocated $140 to go toward documentary production expenses. This is a “use-it-or-lose-it” budget, and funds can be used in the following categories:

    • Petty Cash (which includes production design, production supplies, music or stock image licenses). You can pay for these expenses out of pocket, then get reimbursed.
    • Travel (if traveling away from Tallahassee, can include fuel, airfare, lodging, car rental, and meals). With the exception of fuel and meals, the school needs to book these expenses directly for you in advance. Do not pay out of pocket for any of these if you plan to use the school funds. You can pay for fuel and meals out of pocket, then get reimbursed.
    • Services (if you need to hire someone, like a composer). The school needs to pay for services directly, and this must be initiated at least 1 week prior to services beginning.
  • Production Schedule

    Overview

    The F2 production schedule outlines the overall timeline established for the documentary production process, including major phases such as development, pre-production, filming, and post-production. The schedule is designed to provide structure and pacing across the semester, helping ensure that each stage of the process has an appropriate amount of time for planning, execution, revision, and completion.

    F2-2026 Schedule

    Jan 8 – Feb 27Development & Pre-Production
    Feb 6Equipment Check-Out
    Feb 19-20F2 Group Logistics Meetings
    Feb 25-26F2 Group Greenlight Meetings
    Mar 2-20F2 Production
    Mar 24 – Apr 1Paper Edits
    Mar 27Equipment Check-In
    Apr 2-28Post-Production
    May 1F2 Screening
  • F2 Specs

    Overview

    F2 projects are expected to follow a defined set of production specifications and content parameters. These guidelines are designed to establish manageable limits for production scope, including factors such as page count, shoot days, cast size, locations, visual effects, stunts, intimacy, animals, weapons, and other complex production elements.

    These specifications help ensure that projects can be completed successfully within the available schedule, crew size, resources, and experience level associated with the course. The goal is not to limit creativity, but to help students learn how filmmakers shape strong stories within the practical constraints of time, safety, logistics, staffing, and available resources.

    Content specs

    Story runtime7:30 (singles)
    12:30 (doubles)
    Credits runtime (including leader)0:30 for credits
    + 0:10 for leader
    Total runtime8:10 (singles)
    13:10 (doubles)
    Quantity of scenesNo limit
    Quantity of locationsNo limit
    Quantity of charactersNo limit
    ChildrenYes
    AnimalsYes
    WeaponsNo
    StuntsNothing that would typically call for a stunt coordinator
    IntimacyNothing that would require a closed set or typically call for an intimacy coordinator

    Production specs

    Shooting daysThree-week window for each group
    Length of workday12 hours
    Earliest call time6:00AM
    Latest wrap time12:00AM
    Night shootsNo
    Locations per dayNo restrictions
    Distance to locationCan shoot anywhere the Continental United States with faculty approval
    Pick-up daysNo

    Capture specs

    Camera packagePanasonic AU-EVA1
    Frame rate24.000p
    Sensor modeS35 MIX2.8K
    Capture resolution2048 x 1080 (2K)
    Capture aspect ratio1.90:1
    Approved mattes1.37:1 • 1.66:1 • 1:85:1
    2.00:1 • 2.39:1
    Capture formatMOV
    Codec422All-Intra 100M
    Gamma/color presetSCENE2 (eV-LOOK2)
    Sampling4:2:2 10-bit
    Bitrate100 Mbps (VBR)
    Production soundSingle system

    Data allocation

    Data rate0.8 GB/minute
    Total data512Gb
    Total dailies11 hours (660 minutes)

    Post-Production

    Pic edit softwareMedia Composer
    Pic edit days9 days
    Pic edit locationThird floor labs
    Sound design softwareDaVinci Resolve
    Sound design days1.5 days
    Sound design locationThird floor labs
    Sound mix daysNot applicable
    Sound mix locationNot applicable
    VFX scope2D effects, simple animations and motion graphics
    VFX softwareAfter Effects
    VFX daysIncluded in Pic Edit days
    VFX locationThird floor labs
    Coloring softwareDaVinci Resolve
    Coloring days1 day
    Coloring locationThird floor labs
  • Additional Photography Request

    Overview

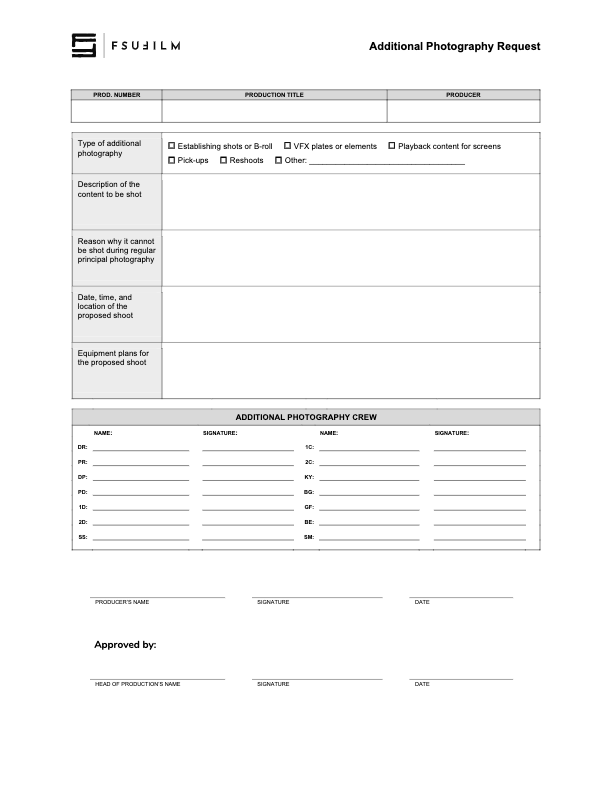
    Requests for additional photography involve seeking approval for filming that takes place outside the scheduled production period. This may include inserts, establishing shots, VFX plates and elements, or any other supplemental photography needed to complete the project successfully.

    Because additional photography affects scheduling, equipment access, staffing, facilities, and administrative coordination, these requests must be reviewed carefully before approval is granted. The process helps productions evaluate whether additional filming is necessary, realistically achievable, and supported by an appropriate production plan while reinforcing the importance of preparation and efficient production management during principal photography.

    Instructions

    This form should be used by Producers to make a request to the Head of Production for additional photography outside of the regularly scheduled shooting days on the crew grid. Since additional photography involves time and resources, requests will not be approved automatically. Approvals will only be granted if the time and resources are available and if students make a compelling case for why the footage cannot be shot during regular principal photography.

    Indicate on the form the type of additional photography that is being requested:

    • ESTABLISHING SHOTS OR B-ROLL
      Check this box if the request is for 2nd Unit shots that cannot easily be scheduled during regular principal photography. Typically these would be for shots that need to be shot at a discrete location without the involvement of principal actors, such as establishing shots at an inconveniently place location or B-roll of events that are occurring outside the regular production window.
    • VFX PLATES OR ELEMENTS
      Check this box if the request is for background plates or other photographic elements that are needed to complete visual effects shots.
    • PLAYBACK CONTENT FOR SCREENS
      Check this box if the request is for video content that would need to be shot in advance of regular principal photography in order to be played back during production.
    • PICK-UPS
      Check this box if the request is for pick-up photography. Only FC and MC shows may request pick-ups.
    • RESHOOTS
      Check this box if the request is for the reshooting of a scene where circumstances beyond the students’ control resulted in footage becoming unusable. Typically, trying to solve the problem through editorial fixes will need to be explored before a reshoot is approved.
    • OTHER
      Check this box if the request is for something different than the above examples, and provide a brief description of the type of additional photography that’s being requested.

    Requests for additional photography must also include the following information:

    • the exact nature of the subject content to be shot;
    • the reason why it cannot be shot with the first unit crew during principal photography;
    • the date, times, and location of the proposed shoot;
    • a summary of the equipment plan for the shoot, including any requests for school equipment;
    • the crew required for the proposed shoot, including names and signatures (you’ll need to determine how many crew members you need and you’ll need to recruit them).
    • any additional supporting documentation can also be attached as needed.

    Submit the completed request form to the Head of Production. Leave adequate time for the Head of Production to review the request and be prepared to make adjustments if any concerns need to be addressed. The Head of Production’s decision on whether to approve or deny the request is final.

  • Goodwill Letter

    Overview

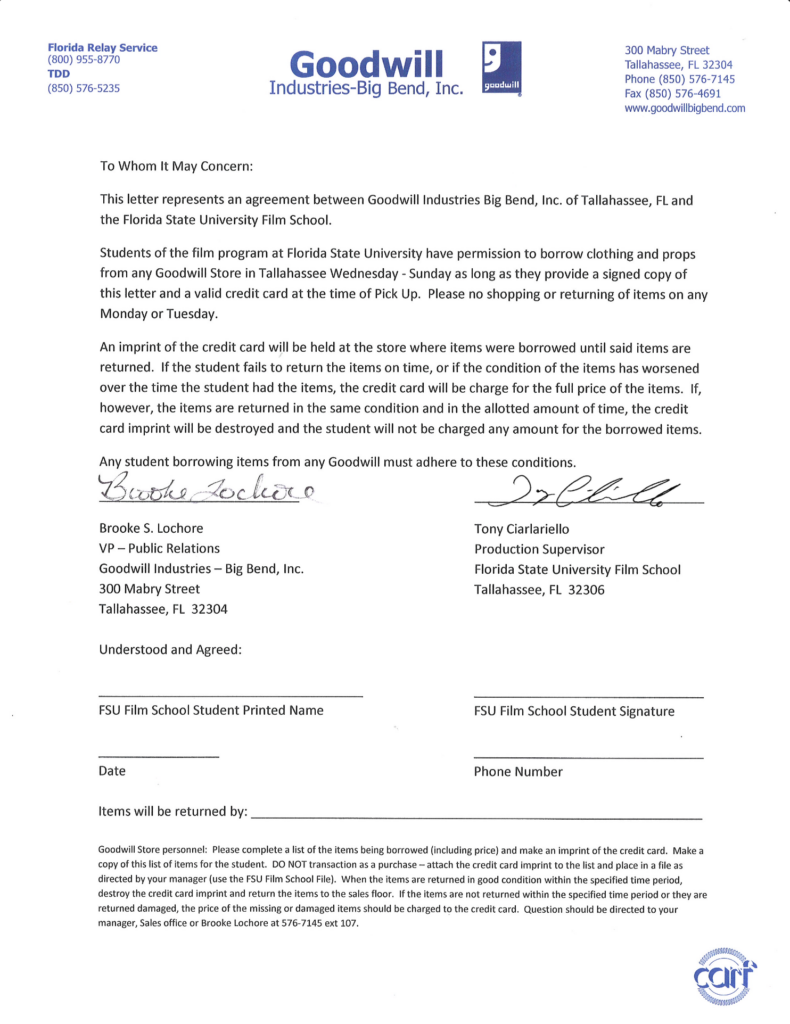
    This page provides a letter that students may present to participating Goodwill stores when requesting the temporary loan of items for use in a production. The letter is intended to help communicate the nature of the arrangement and verify the production’s affiliation with the program, but individual store locations retain full discretion over whether they choose to participate or loan items to a production.

    Instructions

    This letter may be used as an agreement between a student and Goodwill for the borrowing of clothing or props from a Goodwill store.

    Students must present a signed copy of the letter and a valid credit card at the time of pick-up. Goodwill keeps the credit card on file until all borrowed items have been returned. The credit card is only charged if items are returned in a worsened condition or if items are not brought back by the agreed upon return date. In such circumstances, students are liable for the full cost of the item.

    Please note that individual Goodwill stores are not obligated to loan out items, and may choose at their discretion whether to enter into an agreement with a student.

  • Front Sequence Set-up

    Overview

    The front sequence set-up refers to the standardized elements that must appear at the beginning of a locked Avid Media Composer sequence prior to final delivery. These elements include bars and tone, slate information, countdown leader, and the FSUFILM leader, arranged according to the delivery specifications outlined below.

    Standardized front sequence formatting helps ensure consistency across projects and supports smoother workflows during sound, color, mastering, archival, and exhibition processes. Maintaining proper sequence structure also reinforces professional finishing practices and helps students develop attention to detail during final delivery preparation.

    Instructions

    Download the Extras folder, which is located on frame.io inside the F2 folder.

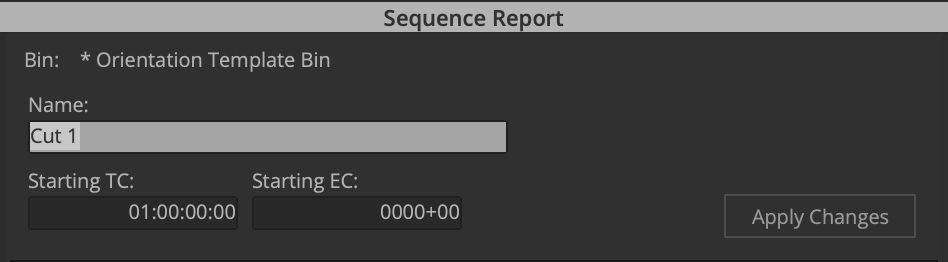
    In Media Composer, change the sequence starting time to 00:59:00:00.

    Control-click on the Program Monitor – Sequence Report.

    Import / link to the Bars and Tone video and add it to the timeline. It should run for exactly 30 seconds.

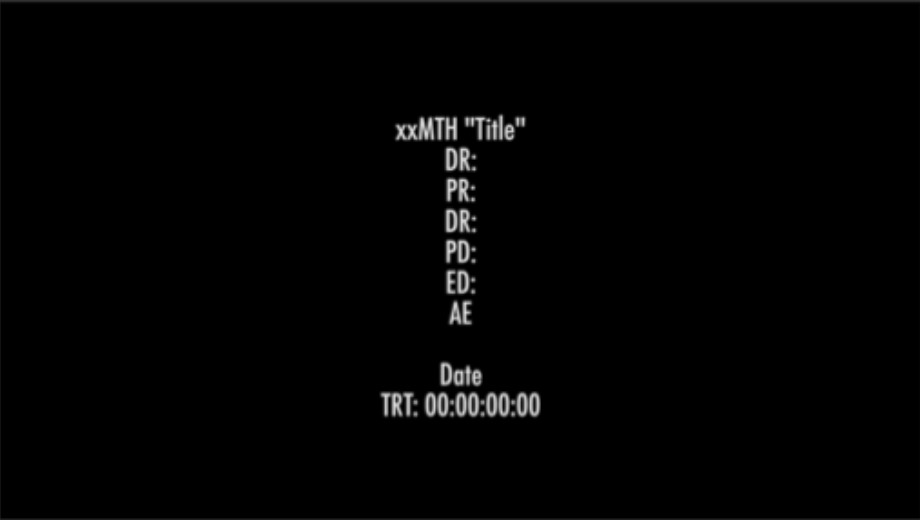
    Add a 30-second slate with the title tool that includes: the title of the film; the names of the creative team; and the TRT of the film. Note: the TRT starts at the first frame of FSU leader and ends at the final frame of the copyright.

    Import / link to the countdown and add it to timeline. This should run for exactly 8 seconds.

    Import / link to the FSUFILM Leader and add it to timeline. This should run for 10 seconds.